Gluten Free Sourdough English Muffin Bread
This is based off a recipe from King Arthur Baking: Gluten-Free English Muffin Bread, which had appealed to me for a while. It’s easy to make with hand mixing, and does carry a lot of the distinctive crumb texture of an English muffin.
There was one big obstacle to trying this recipe, though, since it’s formulated to use King Arthur’s own bread flour blend. But, I came up with a workaround, which did seem to do the job well here.
If you do live where you can get the King Arthur flours, I would suggest just using their flour. In that case, no need for the separate psyllium husk and optional potato fiber included here.
This version also uses sourdough discard–or, in this case, more active stuff from a young starter–going by their directions for that adaptation. If you would prefer to make this bread with all commercial yeast, the main recipe on the King Arthur site gives the right measurements for that.
Another adaptation I needed to make is using regular active dry yeast in place of instant yeast, which isn’t so much of a thing here. (Fresh refrigerated yeast cakes are more popular than dry yeast, to begin with.) So, I needed to proof that in part of the liquid at a lower temperature, and also added a little milk powder to compensate for using water in that step.
If you do use instant yeast, you can just follow the original King Arthur directions to include the yeast and all the sugar in the dry ingredients, and use all fresh milk together heated to the higher temperature.
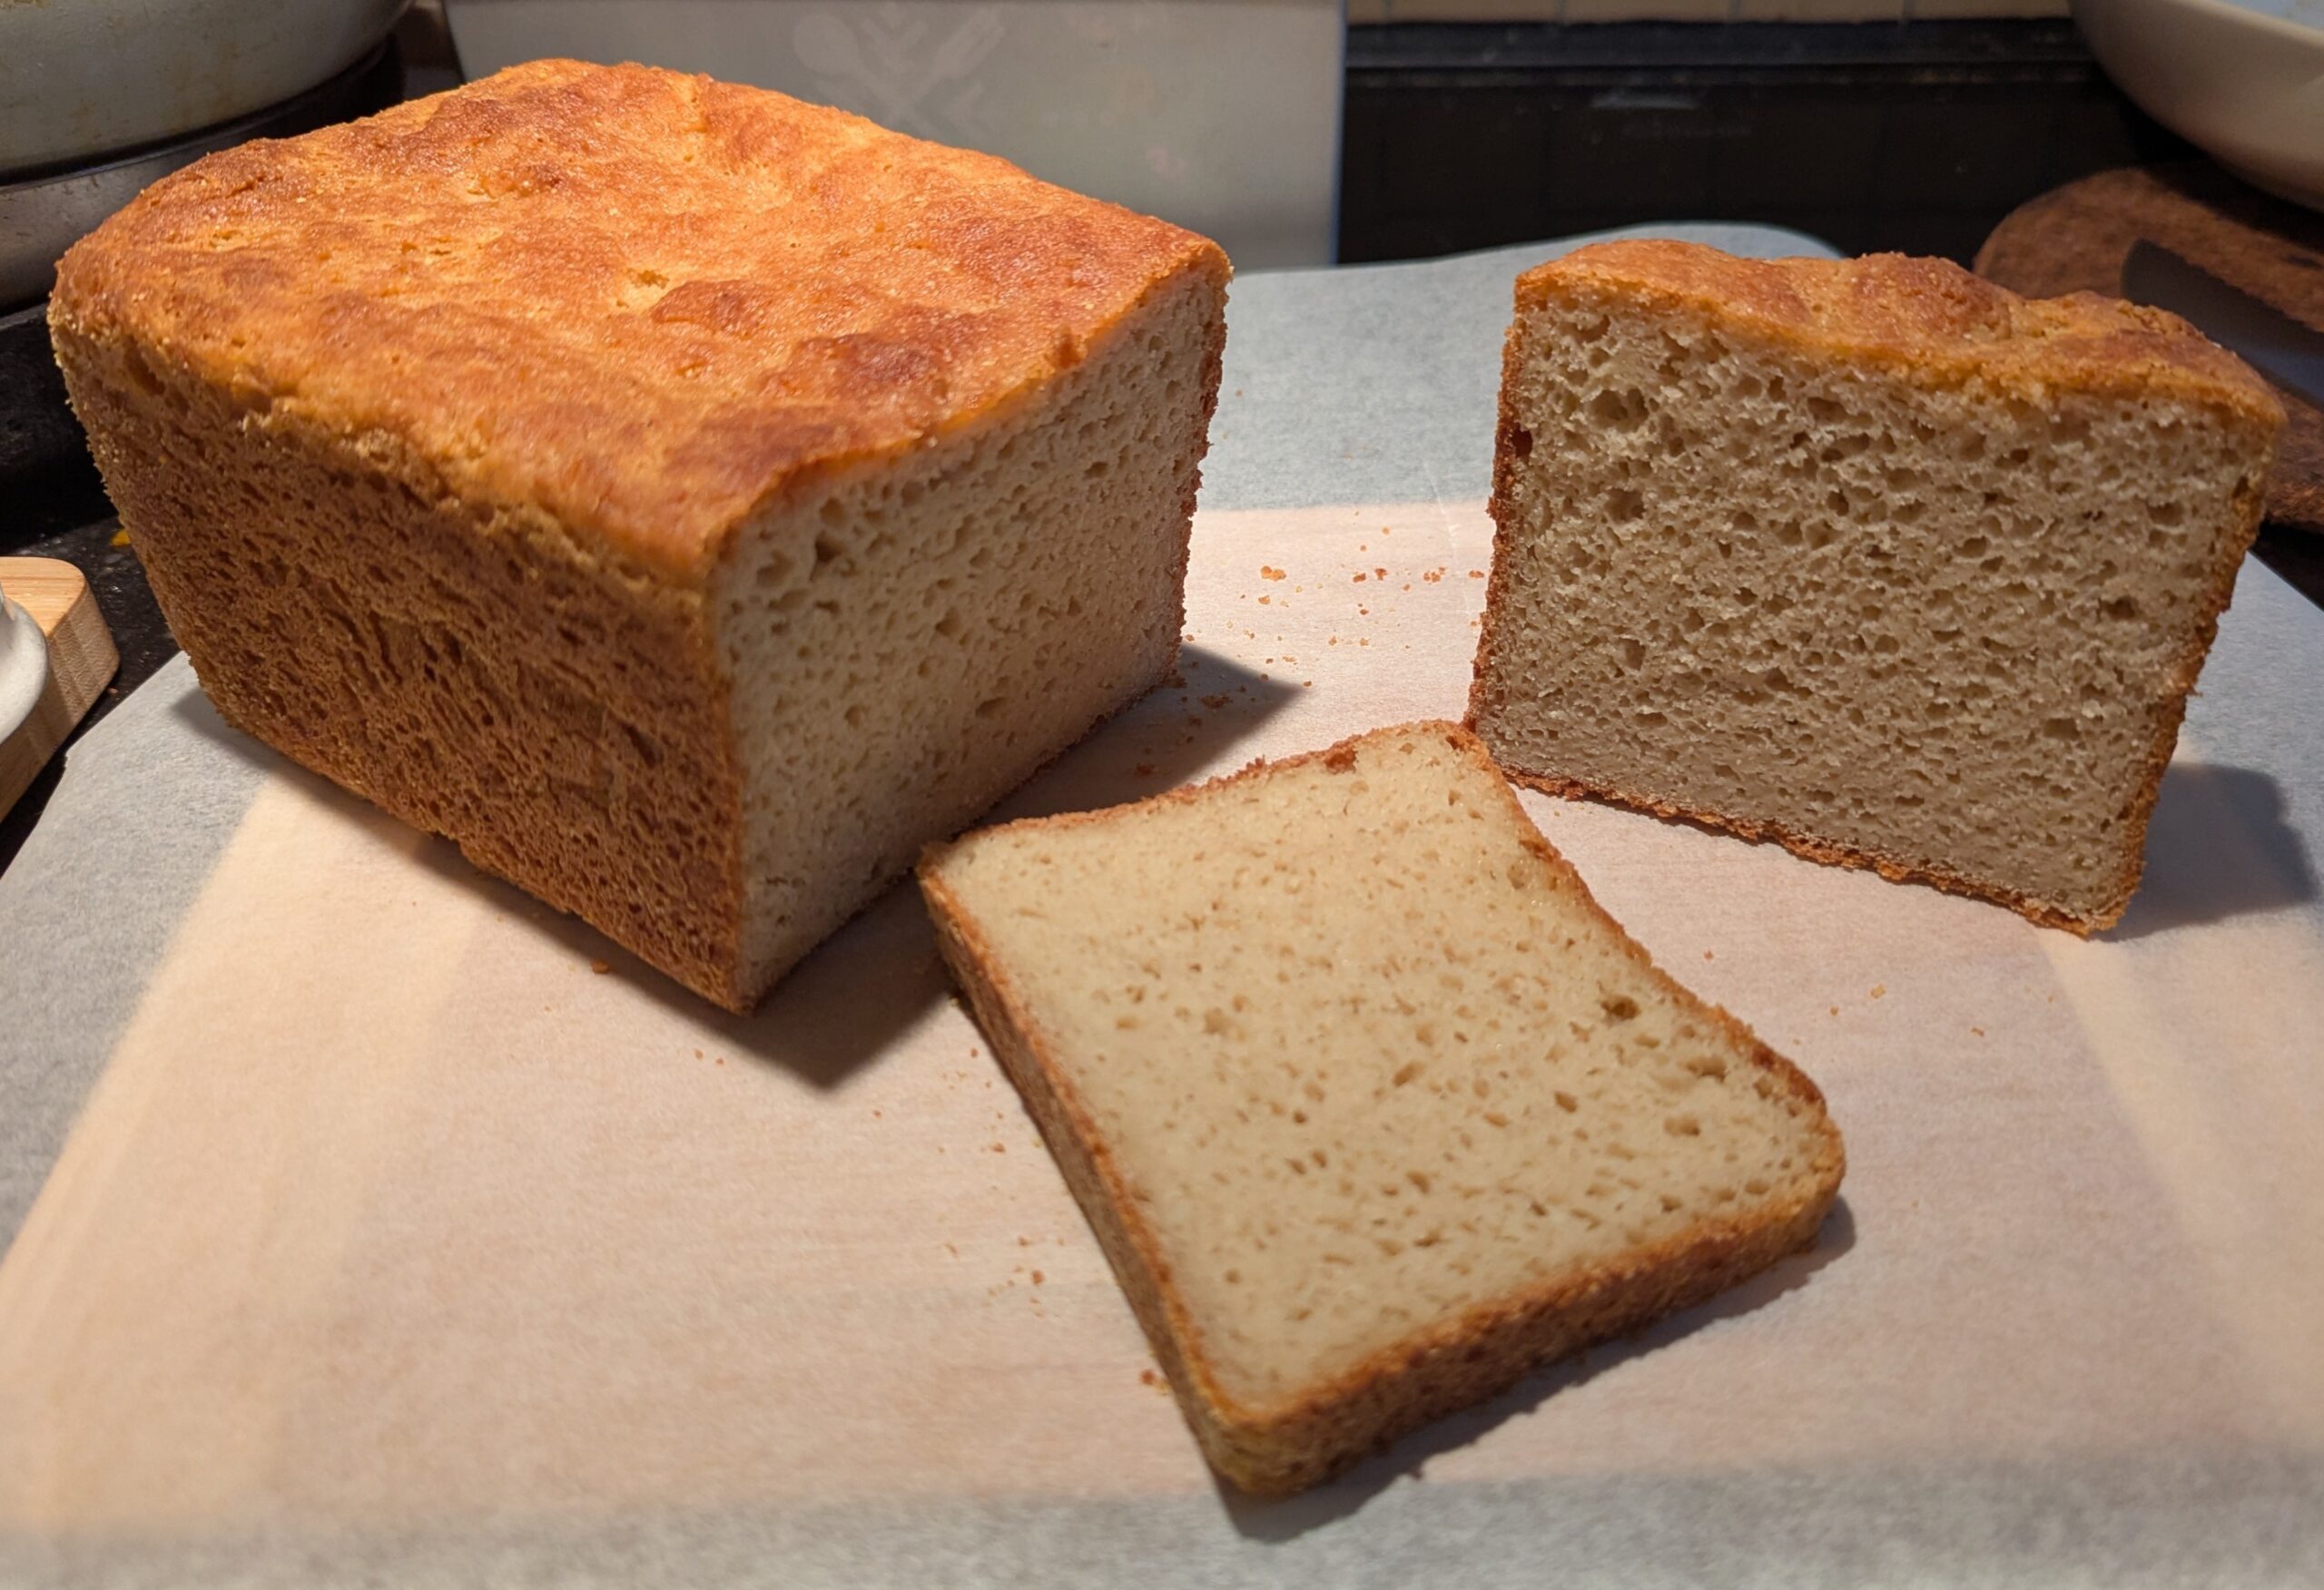
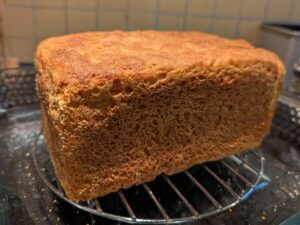
I don’t know how similar the results really are to what you would get using the original flour blend, but this bread turned out delicious with a moist crumb and a texture that looks very similar to their results. This would of course be great toasted like an English muffin, and I’m very tempted to try some for a grilled cheese sandwich tomorrow. It’s good enough just eaten fresh with some butter.

Gluten Free Sourdough English Muffin Bread
Materials
Dry Mixture
- 270 g King Arthur Gluten-Free Bread Flour (
subtitute blend) - 12 g psyllium husk powder, or 20g if not using potato fiber (1 tbsp/12g) only needed with substitute blend
- 8 g potato fiber (2 tbsp) only needed with substitute blend
- ½ tsp baking powder
- 12 g milk powder, optional (1 tbsp) only if using active dry yeast proofed in water
- 2 tsp sugar 8g
- 1½ tsp table salt 9g
Hot Milk
- 170 ml warm milk (¾ cup) heated to 120-130℉ / 50-55℃
- 2 tbsp butter 30g
Yeast Proofing
- 80 ml lukewarm water ¼ cup
- 1 tsp sugar
- 2 tsp active dry yeast
Other Wet Ingredients
- 280g gluten free sourdough starter
- 1 egg
For Baking
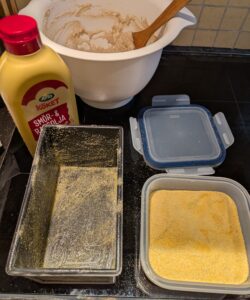
- Butter and cornmeal for the pan
- Melted butter for brushing on loaf
Instructions
- Mix the dry ingredients together in a large bowl.
- Dissolve the sugar into the body temperature water, and add yeast to proof.
- Heat the milk and butter together, to 120-130℉ / 50-55℃. I microwaved it in a cup for around a minute.This should feel very warm to the touch, but not actively burn you.
- Wet ingredients ready to go!
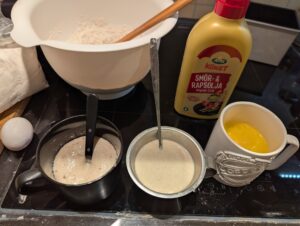
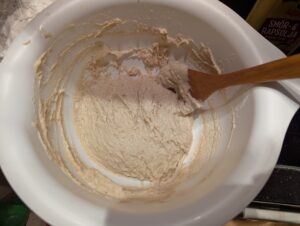
- Pour the hot milk mixture onto the dry ingredients, and stir it in. Then add the yeast, sourdough starter, and egg.
- Beat for a minute or two, until you have something like a cohesive sticky thick cake batter. Add a little more lukewarm water if required.
- Butter the loaf pan, and lightly coat the inside with cornmeal.
- Scrape the batter into the pan, and even it out. I tapped mine on a counter to level the surface out and knock out any air gaps.
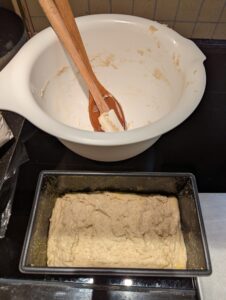
- Cover the pan, and let sit in a warm place for around 30 minutes or until it has risen about halfway.
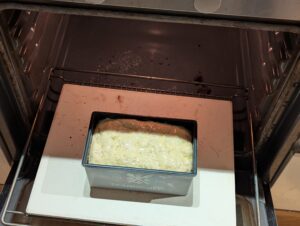
- Start the oven preheating to 200℃ / 400℉. I put in the baking stone again, as detailed on the recent Gluten Free Sourdough Beer “Rye” Bread.
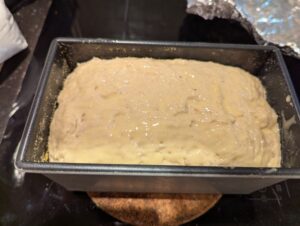
- Let the dough continue to rise until it has roughly doubled in size. Brush the top with melted butter.
- Bake for 25-35 minutes, or until the top is golden brown and the internal temperature reaches 208-212℉ / 98-100℃. My loaf took closer to 40 minutes using a temperature probe, but that was in a deep Pullman pan.
- Remove from the pan after 5-10 minutes of cooling, and let the loaf finish cooling on a rack.
- When it's cooled completely, slice in and enjoy!
