Basics: Simple Homemade Fruit Juice Wine
Today we’re going for something a little different. I picked up an interesting-looking juice on sale, with the aim of turning it into a new small batch of grocery store wine. So, I thought I might as well post a little walkthrough of the process here.
This basic procedure and recipe should work fine with other supermarket juices, as long as they don’t contain preservatives–which are partly intended to prevent unwanted fermentation. You’re looking for no additives beyond citric acid or ascorbic acid (vitamin C). Other added vitamins shouldn’t cause issues with your fermentation, but may contribute flavors you don’t want in the finished brew.
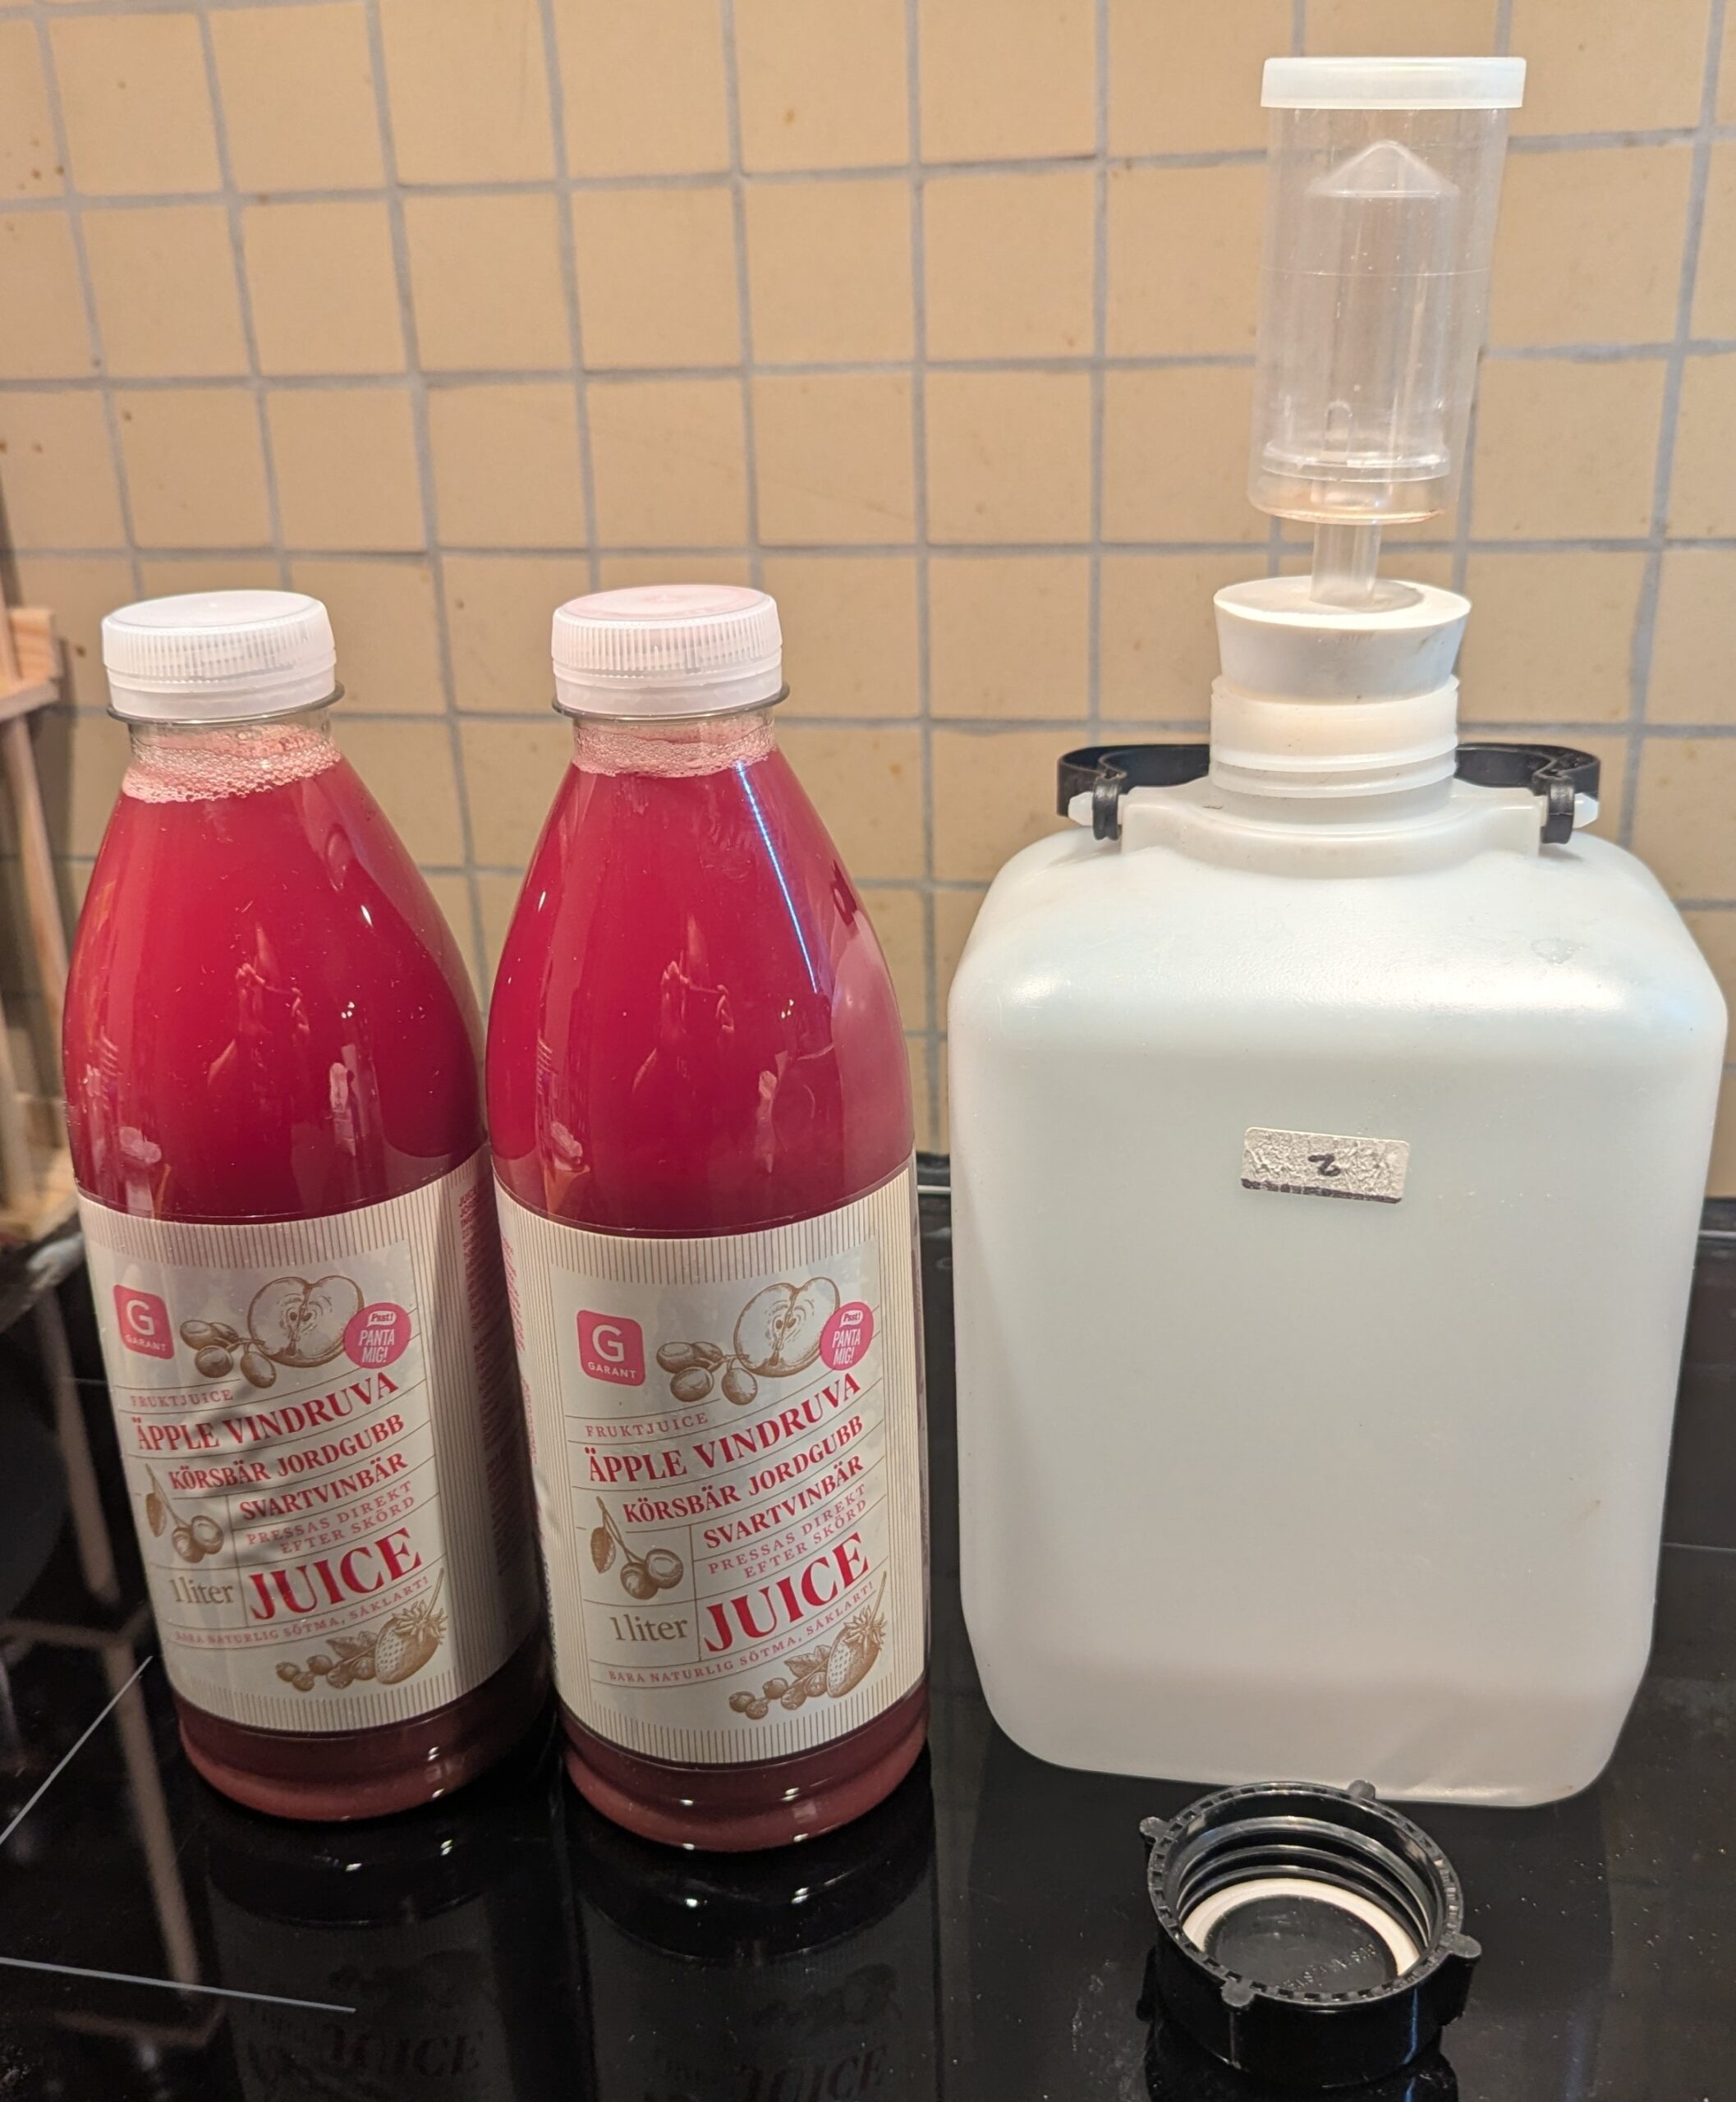
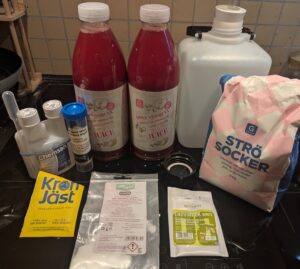
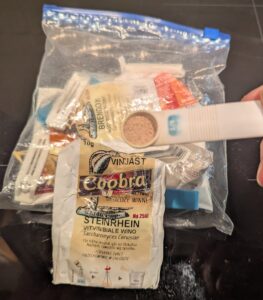
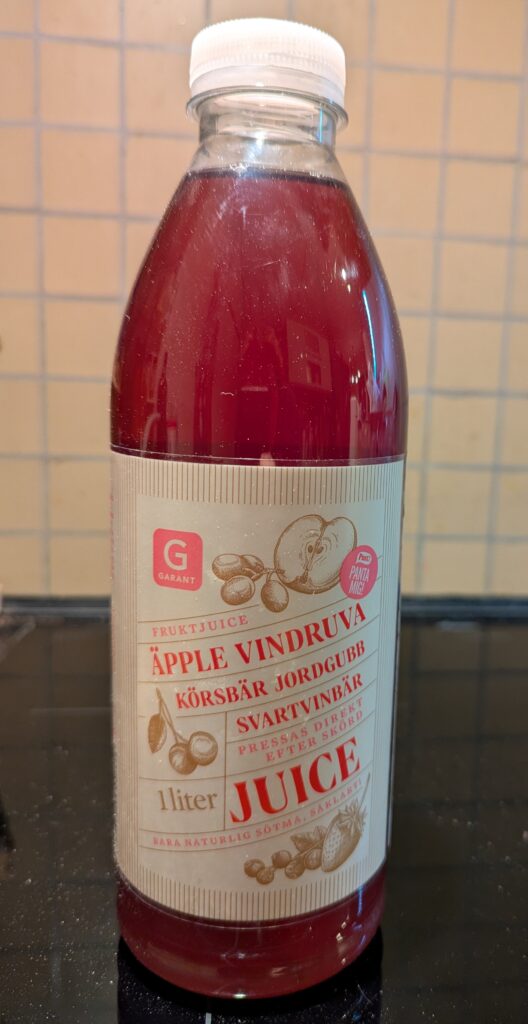
This was today’s juice:
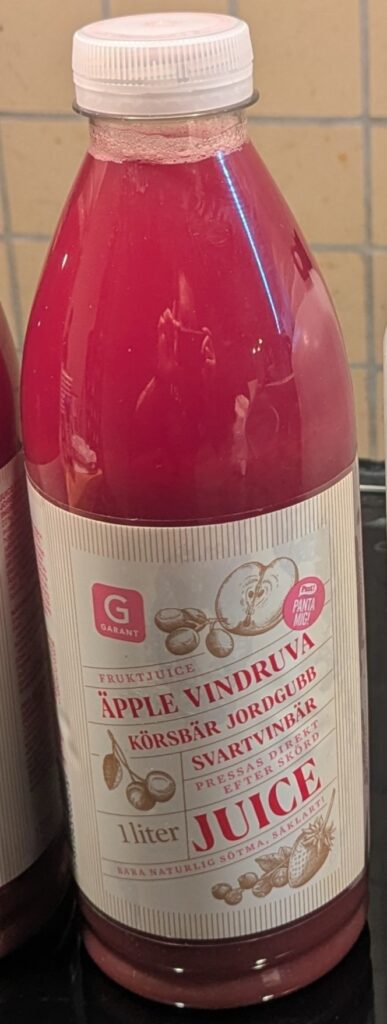
(The label description translates as: “APPLE GRAPE CHERRY STRAWBERRY BLACKCURRANT JUICE – Fruit juice pressed directly after harvest – Only natural sweetness, of course!”)
Ingredients:
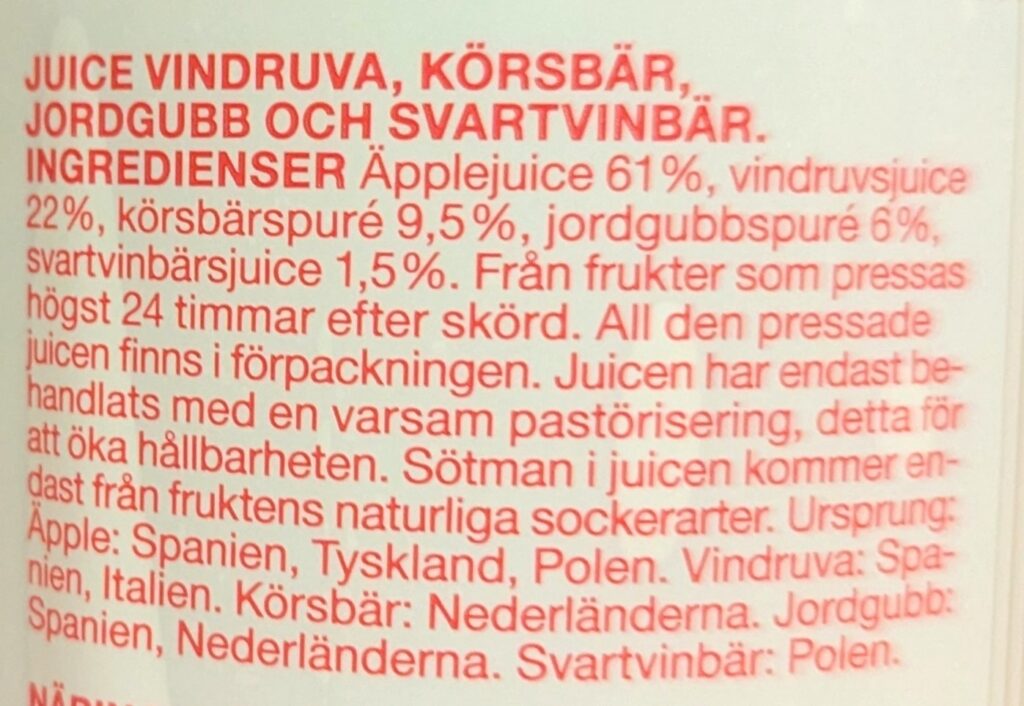
(Text in translation: “GRAPE, CHERRY, STRAWBERRY AND BLACKCURRANT JUICE. INGREDIENTS Apple juice 61%, grape juice 22%, cherry puree 9.5%, strawberry puree 6%, blackcurrant juice 1.5%. From fruits that are pressed no more than 24 hours after harvest. All the pressed juice is in the packaging. The juice has only been treated with gentle pasteurization, this to increase shelf life. The sweetness in the juice comes only from the fruit’s natural sugars. Origin: Apple: Spain, Germany, Poland. Grape: Spain, Italy. Cherry: Netherlands. Strawberry: Spain, Netherlands. Blackcurrant: Poland.”)
That looked like a promising flavor combo for a wine. You can’t go far wrong with apple and/or grape and blends based heavily on those, starting out. The one major exception to generally good results from storebought juice is commercial orange juice, and blends which are heavy on that. It can give you some very unpleasant off flavors and smells. Otherwise, whatever juices sound good to you most likely will give you something very drinkable.
Cran-apple and various cranberry juice cocktails (and here, lingonberry or blackcurrant) seem very popular. Added sugar juice cocktails like are commonly made with those strong-flavored berries are fine for homemade wines; in fact, we’re going to be adding sugar to this as an easy and affordable way of getting a pleasant table wine ABV using a lower-sugar juice blend.
If you don’t add any other sugars, this juice fermented dry should come out to around 5.7% alcohol, according to this excellent recipe calculator. This would be on par with many beers and ciders. If you’re happy with that, no need for additional sugar beyond what’s naturally in the juice.
Note on Sanitization
I would strongly recommend sanitizing any containers and other equipment which will be touching your brew with a convenient no-rinse brewing sanitizer such as Star San, Saniclean, or (EU-made, so cheaper locally) Chemsan like I am using here. Dilute according to package directions, and it’s both very affordable and basically on the same level of safety concern as vinegar water. (They are also based on food-safe acids which are good at killing unwanted microbes quickly.) These can be easily found online, if you don’t have any homebrewing shops in your area.
If you can’t access a brewing sanitizer for some reason, it is also possible to use diluted plain unscented liquid chlorine bleach of a known concentration, like classic Clorox. Here are some official guidelines I found (from Washington State Department of Health) aimed at childcare settings, where you would want to follow the directions for utensils and dishes: Disinfecting and Sanitizing with Bleach. Clorox also provides more information here. This carries the drawback that it requires air drying or wiping dry after use. So, it’s harder to just treat items on the fly.
Just being very clean and washing everything well will go a long way. But, for a lower chance of spoilage, to my mind using a proper sanitizer is well worth the little extra hassle.
That said, although it may be a little intimidating at first? Fermenting your own fruit wines at home is really very simple at the base of it. You introduce some yeast and provide that with food and conditions it likes, wait a while for it to finish working its magic–and then reap some tasty returns! Experimenting with different combinations of flavors and ingredients that you choose can also make for a fun and rewarding challenge.
Simple Homemade Fruit Juice Wine
Materials
- 2 L packaged fruit juice (or 64 oz.)
- 200 g granulated sugar
- ¼ teaspoon dry wine or cider yeast much preferred
- OR dry baking yeast less predictable and flavor can suffer
Yeast Nutrients
- 1 teaspoon dry baking yeast plus
- 50 ml boiling water
- OR commercial wine nutrient according to package directions
Optional Addition
- 1 g pectic enzyme powder for better clarity with pectin-heavy fruits
Instructions
Starting Preparation
- Preferably let your juice come up at least close to room temperature before using it. The yeast will take off better that way, and the sugar should be easier to dissolve.
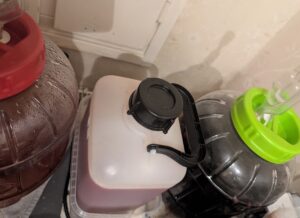
- Assemble your supplies.Here we've got the basics: 2L of juice, a food-safe container big enough to hold it with some extra headspace over top of the liquid to allow for bubbling, a bag of sugar, some additional nutrients to keep the yeast happy and not putting out off flavors or smells, and some yeast to ferment it with.A clean empty gallon/3-4L milk or other drink jug will work great for 2L of juice.You will also want some way of sanitizing your equipment, as discussed above. In this case, it would be the bottle of Chemsan sitting over to the left.Also a couple of optional extras: Powdered pectic enzyme which I keep around anyway, since this juice blend has an apple base and they are very high in pectin. This should help the finished wine look clearer, but is really not necessary.This jug also has a fermenting stopper with airlock already fitted. Both are also available fairly cheaply online or from brick and mortar brewing supply shops. But, if you don't have an airlock, you can make do without.
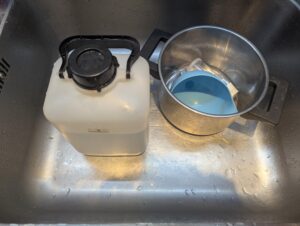
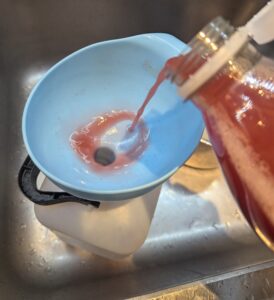
- Mix your sanitizing solution according to directions. (Again, see the note just above the recipe.)I just put it into the brewing jug, with water up to the 2L line that I marked. It will need to be flipped upside down in a couple of minutes, to make sure the entire inside surface is treated.The pot over to its right is going to hold the sanitizer once the jug is done. You will also want to sanitize a funnel for pouring in your ingredients, unless you're using a wide mouthed jar.We are working in a very clean sink for now, to catch any drips or spills.
Ingredient Time
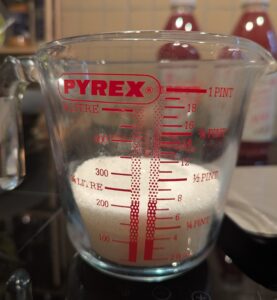
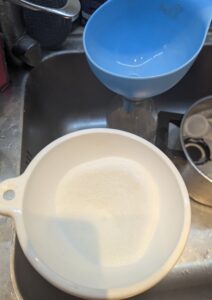
- Measure out your sugar. We're aiming for 200g here.

- As you can see, this comes out to just under 200ml after I shook it down some to level it which compacted it down a bit. With the plain granulated sugar grain size that we get here, I generally do just measure out 200ml for a batch like this.The weight to volume may vary a little with your particular sugar. But, this isn't exactly rocket science, it's wine for our own consumption. 200ml or ¾ cup should be fine to get a table wine alcohol level.
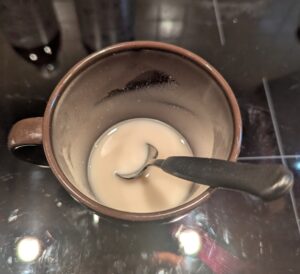
- I did decide to just go with bread yeast as a nutrient addition, to demonstrate. Yeast are little cannibals who will merrily eat their fallen comrades.The easiest way to do this is with the microwave. Just add about a teaspoon of dry baking yeast into a mug.We can save the rest of the pack to use later, as I'll show in a bit. The little sauce cup over to the side holds the optional pectic enzyme.
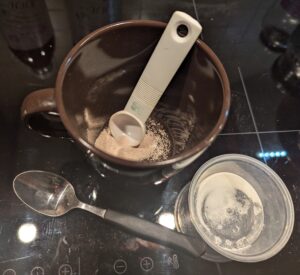
- Douse it with around 50ml/a little under ¼ cup of preferably boiling water. Mix well. Microwave for maybe 30 seconds, or until it's definitely boiling. We want to make sure this yeast is killed off.You can also bring it up to a good boil in a small pan on the stove, but it will probably need more water.
- Time to start pouring!I did also flip that funnel over, to make sure all parts were sanitized. The jug's screw-on lid is waiting in the bath now.

- Shake the juice well if it's cloudy, and pour around half of it into the jug.We are trying to avoid a layer of sugar clumping up on the bottom too badly.
- Pour in the sugar and any other dry additions you may be using.I used another dry funnel, and just set the wet one on top of the empty juice bottle to keep it clean. I'm personally fine with using a clean but unsanitized funnel with dry ingredients like this. A clean piece of paper rolled up into a funnel shape will also work. You can use the same one and try to wash the sugar down with the remaining juice if you prefer, or don't have a second one.
- Pour in the boiled yeast water if you're using it, and the rest of the juice.
- Put the lid back on, and tighten it down.Now it's time to shake-shake-shake to dissolve the sugar as well as you can. I find it helpful to shake, let it sit a few minutes, then come back and shake some more. The shaking should also help aerate the juice to the yeast's benefit, especially early on in the fermentation.
- With this jug and its top handle setup, I prefer to carry it to the Nerd Brewing Corner with the lid still on. It's awkward to carry with the tall airlock.You'll want to find a fermenting spot where your container can sit out of the way at a normal room temperature for a few weeks, out of direct sunlight. A cabinet or closet will work. I like to keep mine out where I can more easily see what they're doing.
- Tip: You will want to put some sort of tray under the container for at least the first week or so, to catch any potential overflows. A lot of foaming and bubbling is likely to happen early on, as our tiny yeasty buddies go wild on all those sugars that we gave them.It is much less likely to overflow with the amount of space over top that I've given it here. But, it will still occasionally happen, so better safe than with sticky fermenting juice running all over the place! Ask me how I know.
Fermentation Time
- Now that the jug is safely in place, it's time to start this fermentation.You will only need less than a full ¼ teaspoon measuring spoon of dry yeast for this size batch. It will multiply quickly.(See notes for more on yeast choice.)
- Now with the yeast in, and the lid swapped for the airlock stopper.If you don't have an airlock, you can leave the lid on–but, IMPORTANT: loosen it so that gases from fermentation can get out. You only want it to be barely on the threads at all. Yeast fermentation will bubble like mad, blowing off an amazing amount of carbon dioxide gas. It can also foam up and gum up the works so it can't vent, if the lid is only loosened a little to where it's not airtight anymore.
- Have fun!BREWING UPDATES will be posted as this batch progresses. (opens in new tab)
Notes
On yeast choice:
Here I decided to use out of a packet of white wine yeast that I already had going, because I find that this Riesling strain tends to give great results with apple juice and lighter berry flavors. You can use any wine or cider yeast here, though. I would recommend using some type of wine or cider yeast, though. You can do this with more baking yeast, but it is developed to be better for bread. Not all bread strains can reliably handle wine alcohol levels, and they’re not selected for flavor in drinks. If that’s all you can get, it should work though.On saving yeast packets:
You can successfully save open yeast for use later. Clip or tape the packets shut, seal them up in a zip freezer bag, and keep that in the freezer. I have used them for up to a year that way so far, until they were finished. There hasn’t been a noticeable decline in activity the whole time. I’ve also taken to storing unopened packs in a baggie in the freezer, aiming to keep them good for longer.Brewing Progress
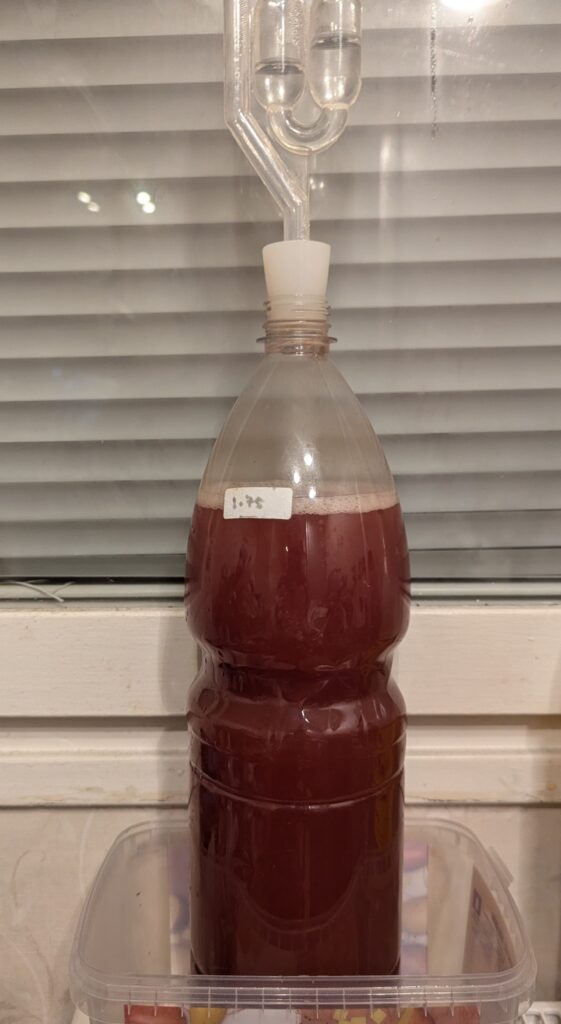
DAY 1: 2 October 2025
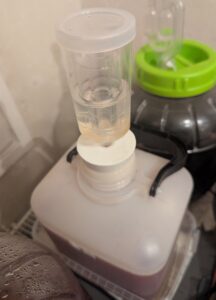
Coming back the next evening, we can see that it is very, very normal and expected for the early fermentation to go foamy on top as the yeast goes to town–and even develop a scummy-looking yeast and other particle layer on top that beer brewers call krausen. There is actually less showing here than a few minutes before, because I already went ahead and swirled it back down in the jug before I thought to snap a picture. You can still see some yeast and fruit pulp residue up on the side of the jug. It’s fine.
The scummy foaming top layer is particular active on beers, but even juice wines will usually develop some. Especially ones with more fruit pulp like this one; the yeast bubbles will float a pulp layer up to the top. It’s totally fine, but worries a lot of new homebrewers. But, this is just a sign that your yeast is very active, and it will usually settle down after a few days.
AFTER ABOUT A WEEK
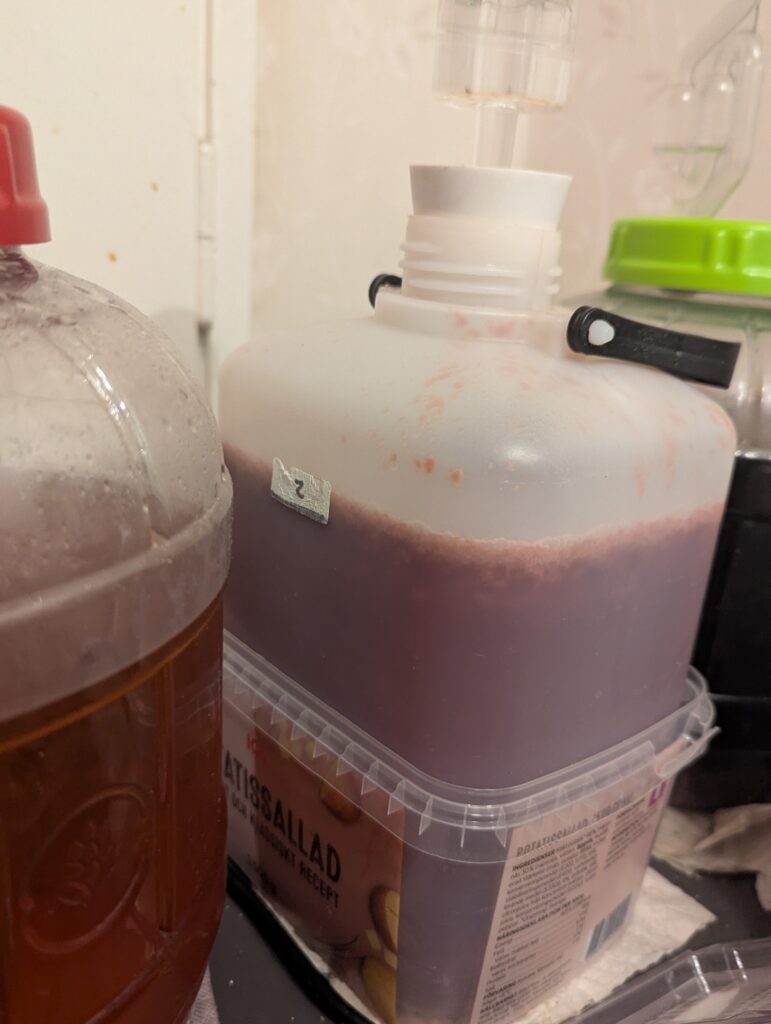
I didn’t remember to update with more photos of this batch underway. But, here is what another even smaller budget batch of juice wine that I have going now looks like after around a week working:
This still has some minor bubbling action at the top, but the airlock activity has slowed way down, and it is just starting to clear up again as the yeast finishes and settles to the bottom.
This will usually need to brew for around 2-3 weeks total before it is totally finished. If you don’t have a hydrometer to make absolutely sure all the sugar has been fermented away, a pretty good sign that it is done is when it does clear up on its own. The exhausted yeast and any fruit pulp in there should settle onto the bottom in a layer of sludge, leaving mostly clear wine.
A 1.75L batch of juice wine made like this will generally give you around 1.5L of drinkable wine after taking it off the dregs, or two standard wine bottles worth. Not bad for maybe a couple dollars’ worth of ingredients and a few weeks’ time!
AFTER 2 WEEKS-A MONTH

What that can look like, on a jar of strawberry-watermelon wine that I have yet to bottle up. You can see the layer of sediment left at the bottom. Juice wines with apple may never get that clear.
When your wine has gone as clear as it will, siphon or carefully pour it off the dregs into clean, preferably sanitized bottles. If it tastes too tart with all the natural sugars gone, sweeten to taste with a nonfermentable sweetener. (Good video from Doin’ the Most Brewing: Erythritol and other sweeteners: Tier list and taste tests! Good for homebrewing?) I personally like to use erythritol; something like Splenda may sound like a decent option, but that will tend to give a more unpleasant artificial taste in alcohol than it would in something like lemonade. Do not sweeten with anything fermentable like sugar or honey, or you risk the fun of bottle bombs as the yeast wakes back up and feeds on the fresh sugar!
THE END RESULT
I just bottled this back into the washed and sanitized juice bottles, because it amused me. This batch was meant for fairly quick consumption, so a plastic bottle is fine. I usually just reuse plastic drink bottles. If you want to age the wine longer, proper glass bottles are better and can help keep it from oxidizing over time.

Jump to Recipe