Gluten Free Pigs In Blankets
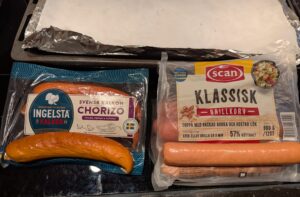
I was actually wanting to try making some pepperoni rolls, and asked Mr. Sweden to pick up some sliced pepperoni at ICA because I saw they do carry it. The one he went to yesterday was apparently out, so he picked up the Scandi-“chorizo” instead. It is a slightly spicy sausage. ¯\_(ツ)_/¯ Think sort of like American kielbasa but with a little lighter smoked flavor and different seasoning.
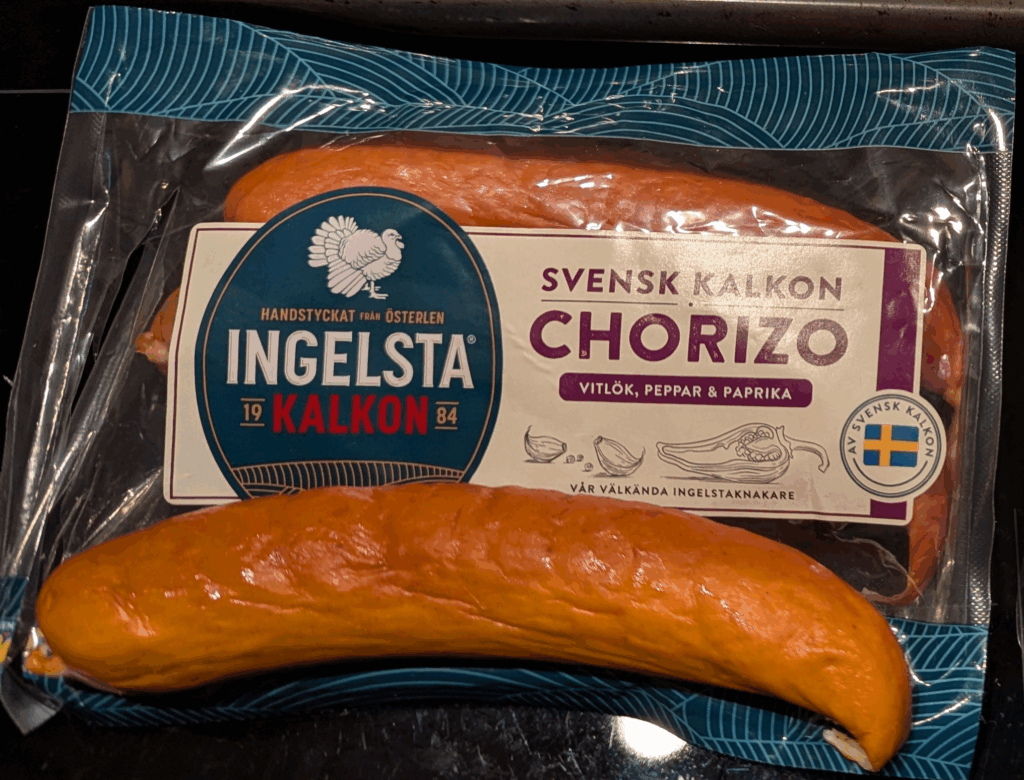
This says it’s seasoned with garlic, pepper, and paprika.
He picked up two 3-sausage packs like that, and I may use the other one for red beans and rice. The usual pork kind is a good choice in there.
So, it did occurred to me that pigs in blankets might make another good alternate plan along similar lines. We’re wrapping sausage in a dough and baking it, either way. Don’t know that I’ve ever actually made them with anything but, like, refrigerated crescent roll or biscuit dough either. Much less gluten free.
These use a variation on pizza dough, which actually handled a lot like a soft homemade biscuit dough. So, easier than I was really expecting to wrap. The main inspiration here was this recipe from one of my old favorite cooking blogs, Gluten Free on a Shoestring: Gluten Free Finger Food! Pigs in a Blanket. Their recipes are highly recommended, in general.
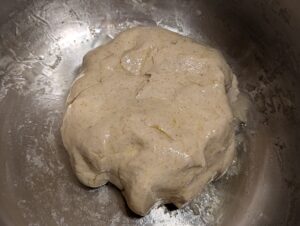
This time I did try also using some potato fiber in there, which is totally optional. I am still not very used to working with it, so judged the amount to include from another similar (Swedish-language) recipe for pizza dough from Svenska Diabetesförbundet: Glutenfri pizzadeg. I guess the organization is recognizing the sizable overlap between autoimmune (Type 1) diabetes and celiac disease with some of their recipes. I went on to develop it myself as an adult, after the celiac was finally recognized. Most “diabetic” dietary recommendations only really apply to the more common type which has been associated with lifestyle, but they are including us autoimmune folk in a little less direct way here. The only real special dietary requirements that do sometimes apply with Type 1 are coming from the high co-occurrence with celiac, and possibly other conditions which might affect what you should be eating.
Never saw potato fiber outside the Nordic countries, but it is a very popular GF baking ingredient here which helps keep, say, flatbreads moist and flexible. It did seem to help with the dough consistency here, so it was easier to work with. This is a totally optional ingredient if it’s unavailable where you are.
Seeing how this turned out, I may try using the same dough for calzone or stromboli in future.

Gluten Free Pigs in a Blanket
Materials
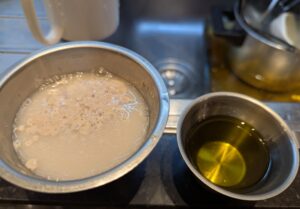
- 200 ml warm water (¾ cup) around body temperature
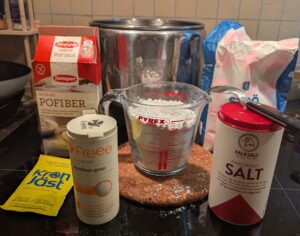
- 1 packet dry yeast
- 3 tbsp olive oil plus a little more for the outside of the dough and bowl
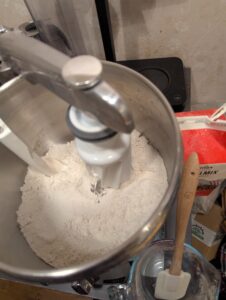
- 500 ml gluten free flour blend (2 cups) plus extra for adjustments and dough handling
- 1½ tsp xanthan gum
- ½ tsp table salt
- 1 tsp granulated sugar
- 2 tbsp potato fiber PLUS 50ml/a few tablespoons extra water OPTIONAL
- 15-16 pieces precooked sausages, like for hot dogs or smoked sausage cut into lengths, or use cocktail size
Instructions
Making the Dough
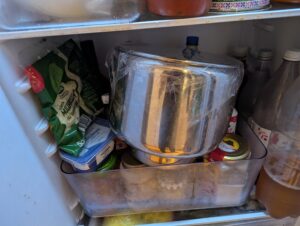
- I did this the night before with the stand mixer, and refrigerated it until a couple of hours before I wanted to use it.
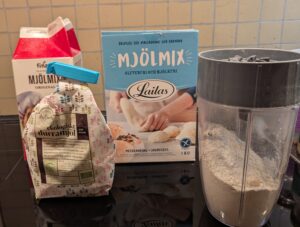
- Assemble your dry ingredients. Once again, I put together my own blend of flours, this time using sorghum, oat flour (ground at home from rolled oats), and two different starch-heavy commercial blends.See notes for more on flour blends for yeasted doughs.
- Besides the flours, you will also need a few other dry ingredients.
- Meanwhile, mix your yeast into the cup of lukewarm water and set it aside to activate. I also got the olive oil ready to go.
- Combine the dry ingredients in a mixing bowl, and stir them together. I'm using the stand mixer here. You can work the dough by hand with a big wooden spoon instead if you like. Like with most gluten free doughs, you'll have a tarpit situation in your kitchen if you try hand kneading it. A stand mixer sure will save you an awful lot of energy and stirring muscle wear and tear.
- Start the dough by mixing in the oil, and about half of the yeast rehydrating water. Gradually add the rest of the liquid as it comes together.
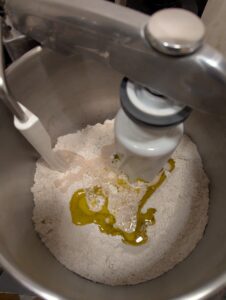
- You may need to add in a little more liquid and/or flour to adjust the dough consistency as you go.I put together a little video showing exactly what you're going for:
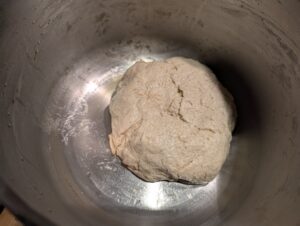
- This is roughly how it should look after mixing. It is pretty soft and sticky, but we'll manage that.
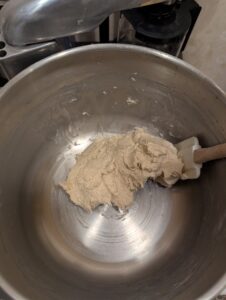
- Drizzle a little oil over the dough and into the bowl. Get a little of the oil onto your clean hands, and carefully form the dough into a rough ball. It will get easier to handle as it rests, and the oil coating will also significantly help with that.You will want to roll the dough around to lightly coat it on all sides, and also lightly oil at least the bottom half of the bowl inside.
- Cover the dough bowl to keep it from drying out (I used plastic wrap), and set it aside for around an hour or until it's risen to around double the initial size.I chose to refrigerate it until the next day, and take it out a little early to come back up to temperature in a warm place to let the proofing happen then.
Making The Rolls
- Once the dough has risen to your satisfaction, it's time to gather your sausages and start rolling.
- Today I am using a combo of the turkey chorizo and some hot dog type sausages to make enough pieces. We're going for 15 pieces, or 5 sausages cut into thirds because that looked like a good size dealing with these. Feel free to adjust for whatever sausages you're using. Slash your sausages down one side to keep them from bursting as they plump.
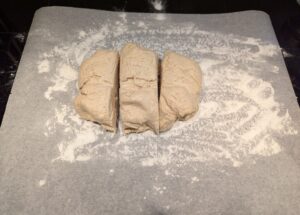
- I'm starting by dividing the dough into 3 sections, and returning two of them to their covered bowl to keep them from drying out. I do like to work on (in this case, floured) baking paper because it helps prevent sticking and makes cleanup easy.
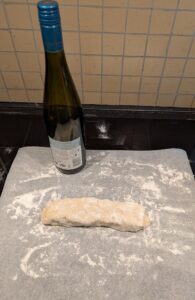
- Shape your dough section into a ball and then a rectangle, ready to roll out. Flour both sides of the dough and also your rolling pin.I am using a well washed empty wine bottle, because they do work well.
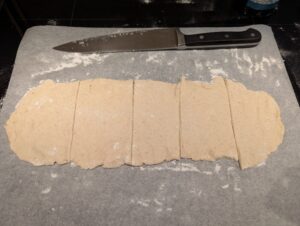
- We're going for 5 strips x3 today.
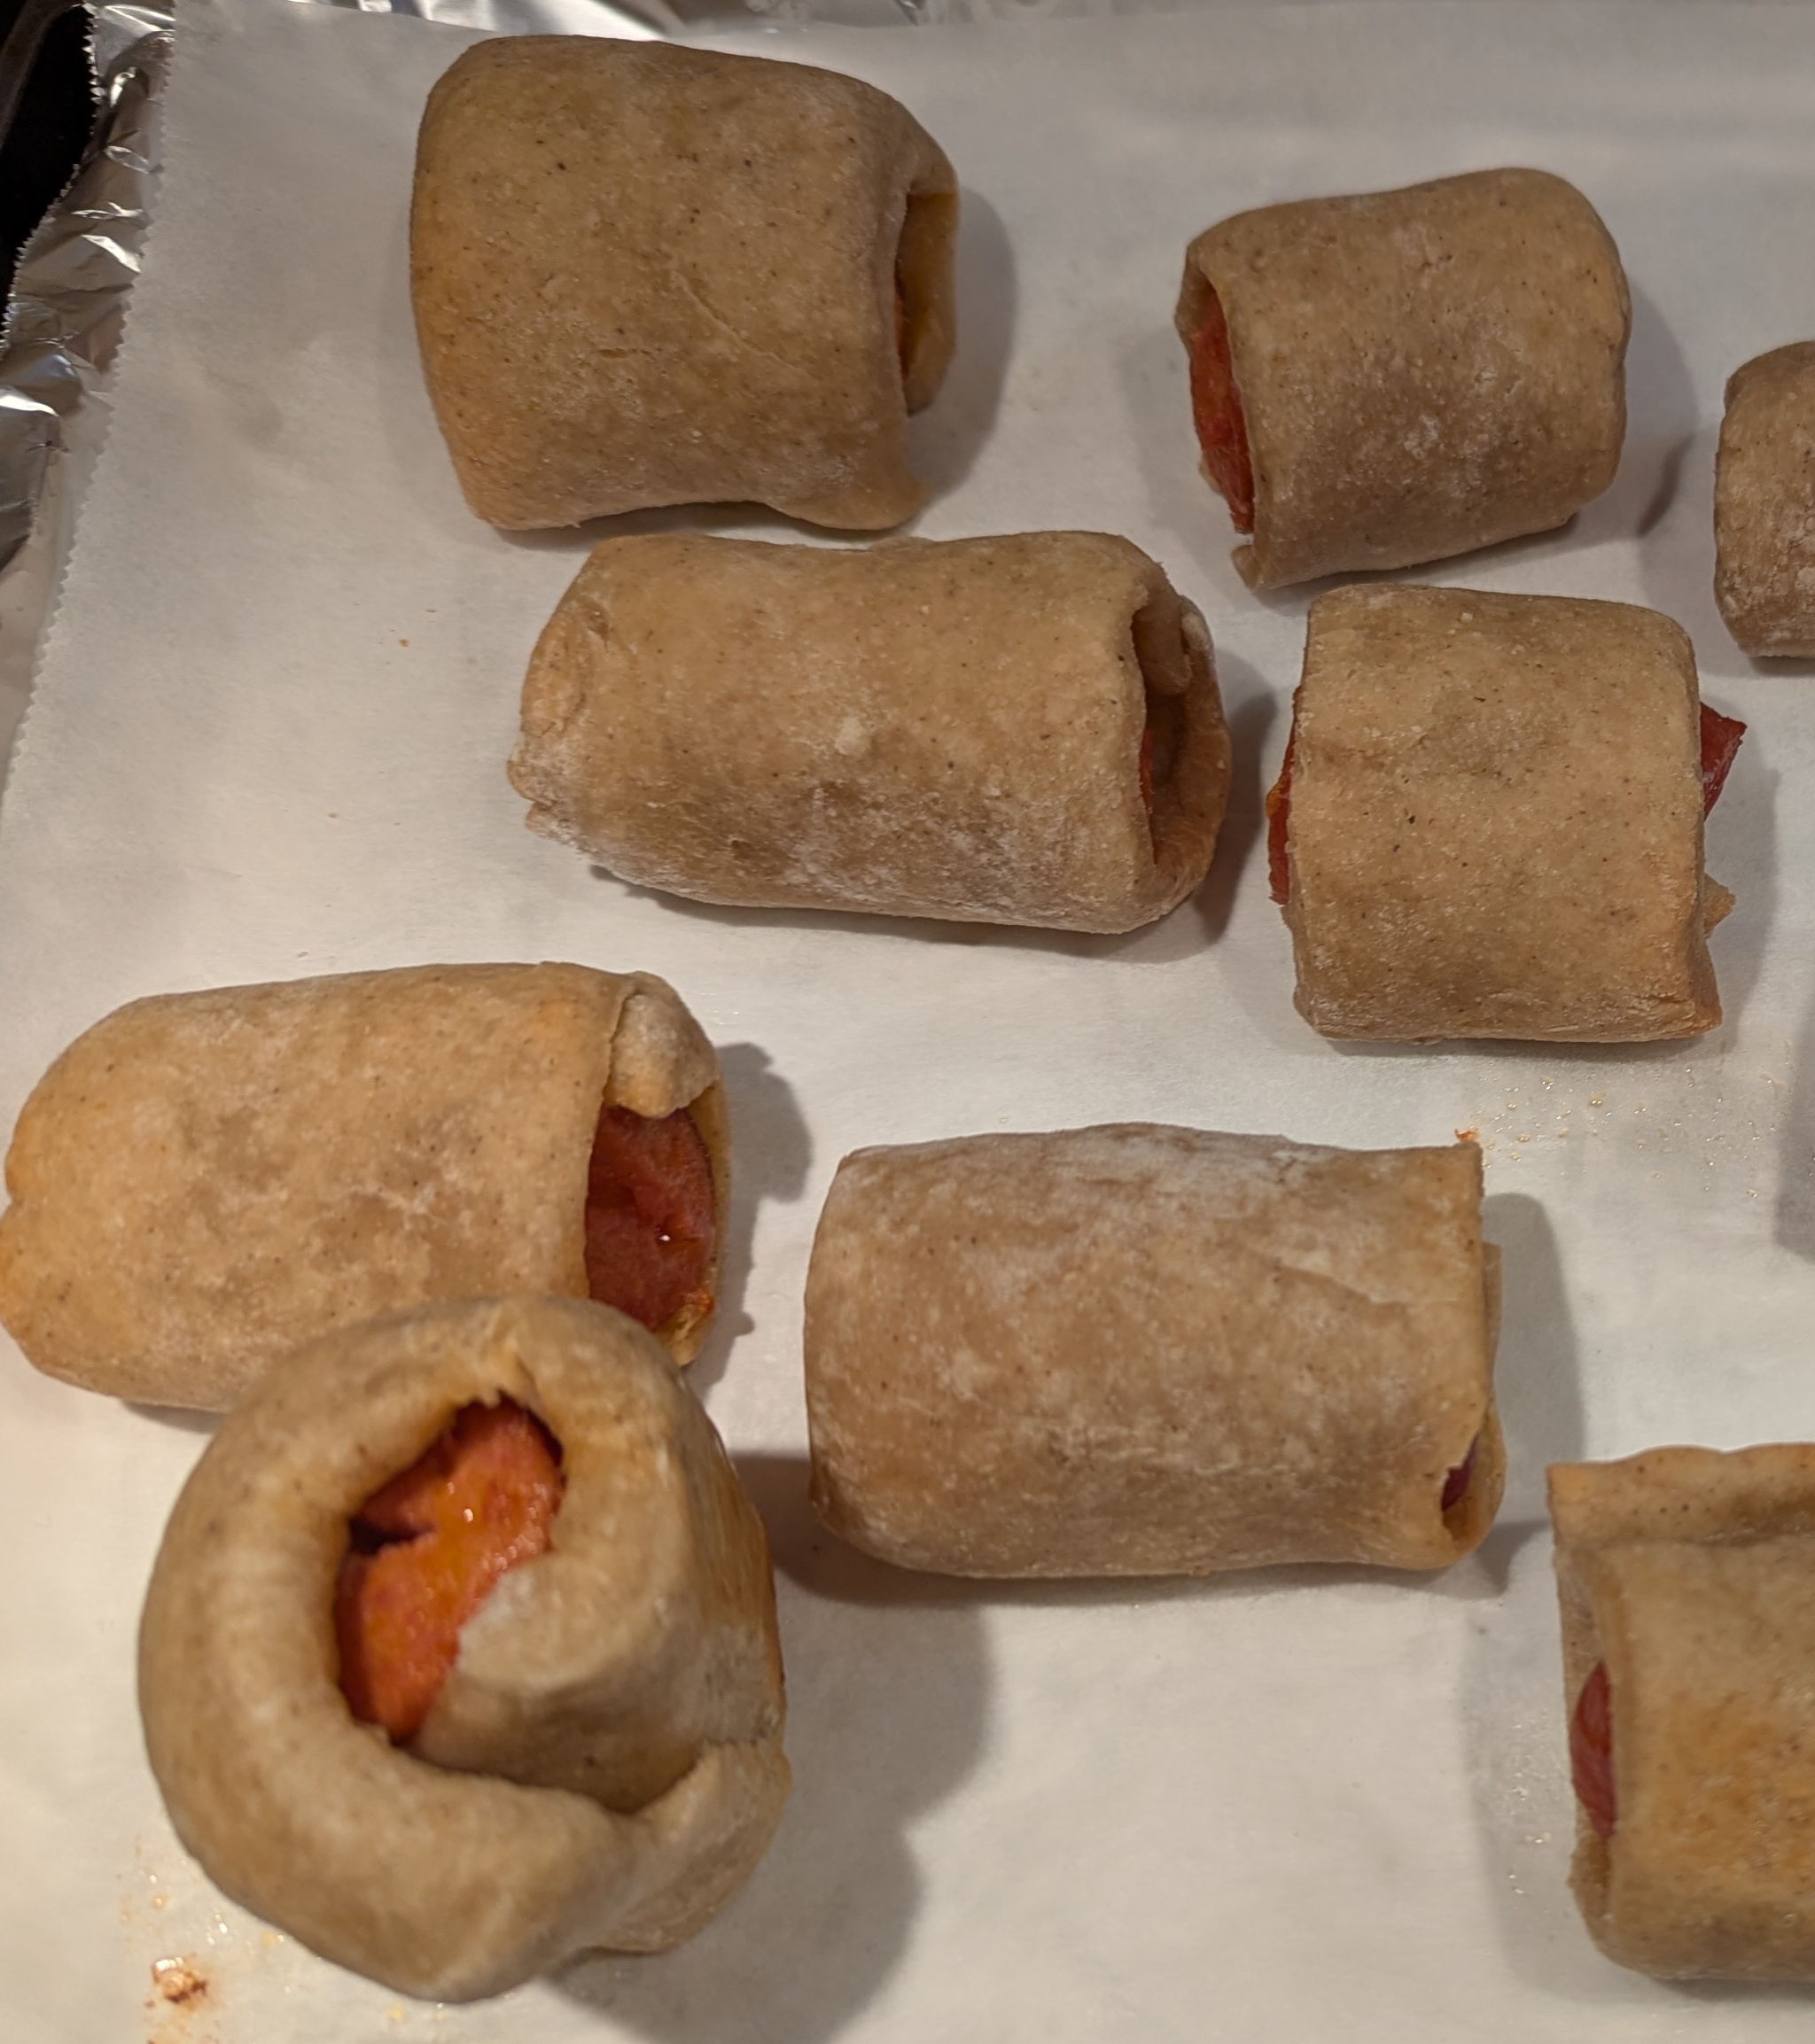
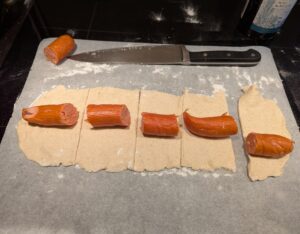
- Ready to start rolling! You do want the sausage more toward one end of the dough, to roll the strips around and over onto themselves. I got this first set a little wide for our sausage chunks. We'll adjust on the rest of the batches.
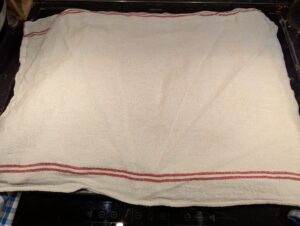
- This is roughly what we want. I sort of pushed the dough overlap at the ends back in toward the sausage. It's fine.Set aside seam side down, on a paper-lined baking sheet. You'll want to cover them with something like a damp tea towel to keep the dough from drying out. I used more plastic wrap.

- Repeat for all your dough and sausages.
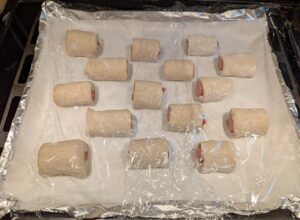
- Start your oven preheating to 200℃ / 400℉.In the meantime, your pigs in a blanket can rise some again. I preferred the texture on the early ones which had longer to do that, so you may want to give it a little longer until everything looks like it's getting nicely puffed again.
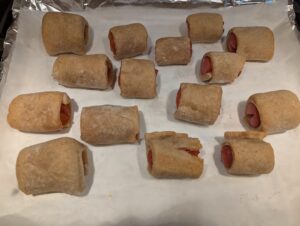
- Bake for 12-13 minutes, then check for doneness. These were fairly thick pieces of cold sausage, and it took 15-16 minutes all together. Probably could have gone a minute longer to brown more.They won't brown as much as with a wheat flour dough. You're looking for lightly browned, and with a slightly hollow feel/sound if you carefully thump one in the middle with a finger.
- Cover with a towel, and let rest for around 10 minutes before serving.Optionally: Brush the tops with oil or melted butter before covering.
- The unveiling!A few of these obviously rolled themselves over in the oven so that the seam didn't stay down. One was wrapped a little too tightly, so that the dough split open as the sausage expanded.But, I was pleased at the results overall. And the flavor was great
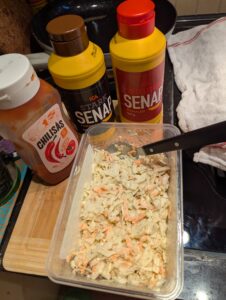
- Serve with sauces and other accompaniments of your choice.Tonight we went for a very basic hot dog theme, with hot and mild mustards and some "tangy ketchup" style chili sauce. We also just pulled out what was left of the garlic-and-herb coleslaw. Good combo!
- Enjoy!
On Flour Blends:
For suggestions on readymade blends suitable for this type of dough, I would suggest consulting Gluten Free on a Shoestring’s page on it here. Especially seeing as this recipe is largely based on hers.
Turmeric Me Crazy’s Gluten Free Sourdough Pizza Crust recipe includes an excellent overview of how to blend your own flours using what you have and can eat, with discussion of what functions each category of flours and starches serve within a baking recipe. I would also recommend her How to create your own Gluten-Free Flour Blend!.
I have learned an awful lot about gluten free baking through trial and error over the past 20 years or so, and wish information like theirs had been readily available when I was starting into it so that I could have avoided some of the many fails along the way!