We currently have most of a huge bag of nice fresh carrots that Mr. C picked up from the newish Costco here in town, so I’ve been trying to think of some yummy things to do with the root vegetable windfall. Expect to see more …
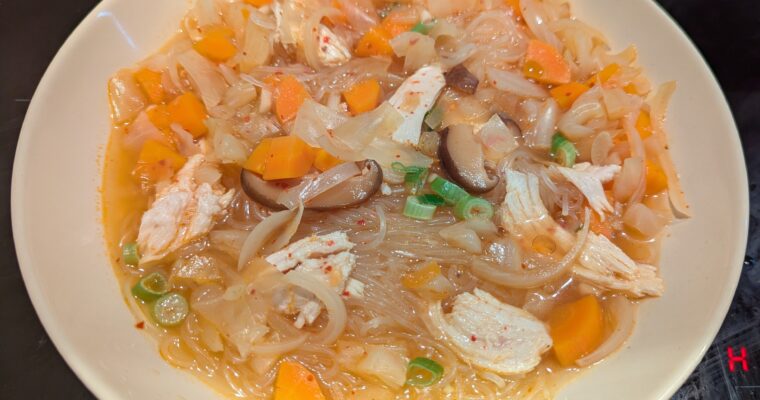
Fall is well and truly rolling in, so it was soup night Chez Swedabilly Chaos. (It used to just be Chez Chaos, as dubbed by Mr. Sweden. But, here now in Skåne things are indeed looking easily 90% more Swedabilly.) In the previous post–and earlier …
It’s hard to get more comforting and versatile than a nice pot of chicken broth.
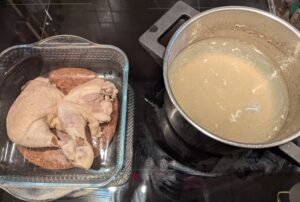
Today I was really starting to feel the fall settling in here, and I really wanted some soup. We also had the remnants of half a roast chicken in the fridge, plus some frozen leg quarters. Cooking for two, these days I generally will cut a fresh whole chicken in half and freeze one side of it to cook later. So, a plan came together–starting with some fresh broth!
We have independently come to very similar stock-making approaches over the years, especially to save for later to use in a variety of different dishes.
This particular batch is small and I did plan to use part of it immediately in a specific dish, but I’m still sticking with the same basic plan here: we’re going for rich chicken flavor, lightly salted, without a lot of other taste notes added in. Any aromatics we want can go into each dish as we’re cooking it. Keep things as simple and versatile as possible.
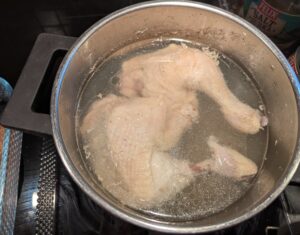
Place the chicken pieces into at least a 3L pot. Cover with 2L water and add salt.
Here, I just used a couple of leg quarters straight from the freezer, but feel free to use the equivalent in other bone-in chicken parts, or half a chicken. (This is a small batch, but it scales up readily.) At least some dark meat pieces will give you better broth.The existing carcass is also optional, but any extra bones and connective tissue you have will also help make your broth richer.
Bring to a boil, and skim the foam from the surface with a spoon.
Turn down the heat, and simmer covered for an hour. I like to gently stir and flip pieces like this over about halfway through cooking, to make sure it cooks as evenly as possible. This may not be necessary, depending on what you're using.
Once it has simmered for an hour, carefully pull out the chicken with a slotted utensil. Reserve to the side in a dish, to cool enough to handle.
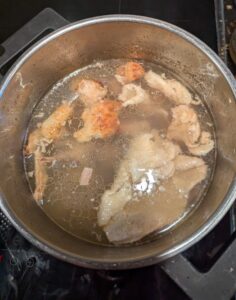
While your pieces cool, take the reserved carcass and add it to the pot. Cover and continue to simmer.
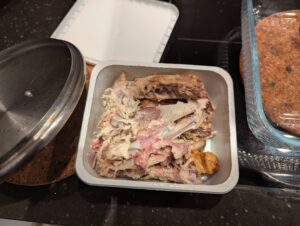
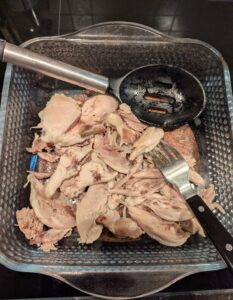
Once the chicken is cool enough not to burn yourself trying to dismantle it, carefully drain any liquid which has collected in the pan back into the pot. Pull the meat off the bones, and set it to one side. I like to hold onto it with one hand, and pull at the meat with a fork.Slide the skin, bones, and any gristle back into the simmering pot.
Cover and continue to simmer all of the chicken bones and scraps for another hour.
Optional: Add the reserved jellied gold of your reserved roast chicken drippings into the broth pot if you have any, and let simmer another 15 minutes. We will deal with the chicken fat later.
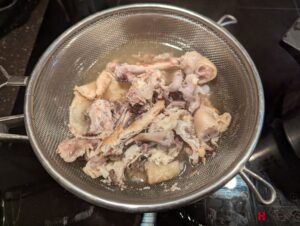
Pour the finished broth through a mesh strainer, into another pot of at least 2L cooking capacity.Let the carcass drain any remaining liquid for a few minutes, before discarding. In this case, the liquid level came up high enough that I needed to let it drip into the original cooking pot and pour the proceeds back over from there.
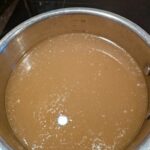
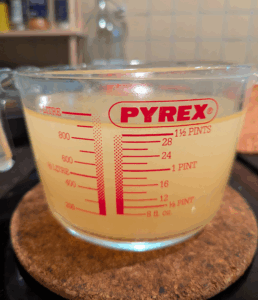
Finished broth! This gave me around 1.5L in the end, but I did not measure the water going in precisely. I just eyeballed "a couple of liters/quarts". You may get more or less from a starting 2L after the cooking evaporation, etc. It's all good.
Use immediately, or reserve for later. We'll cover that next.
Saving For Later
If you want more concentrated broth to freeze, let it boil down over medium heat until you have around a liter left. We will also deal with the excess fat after this.(I did not reduce it in this case, because it was already concentrated enough for me–and I chose just to reserve a liter for later use as-is.)
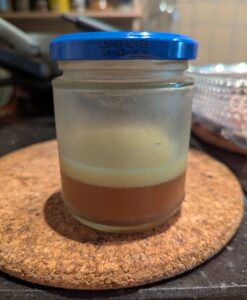
To do this fairly easily, pour the broth you want to save into a container like a Pyrex measuring cup.Let cool enough, and refrigerate at least overnight covered.
Your broth should have gelled, and the fat separated out into a solid layer on top. (I haven't gotten that far yet, writing this up.)You can carefully scrape off the chicken fat into a small jar, and save in the refrigerator to use for cooking later if you like. Try not to get broth in there. I don't mind if a little fat stays with the broth.
Reheat the broth until it becomes liquid again. A couple of minutes in the microwave is perfect for this.Freeze in containers or Ziploc bags of the size you prefer. You may want to label them to remind yourself that it should be used 1:1 with water, if you did go for the condensed broth approach. I will usually go in increments of around 1 cup/250ml.
For more flexibility when you go to use your broth, Chinese Cooking Demystified demonstrated in one excellent recent video how to freeze it in convenient ice cube bags. You can of course also just use an ice tray.
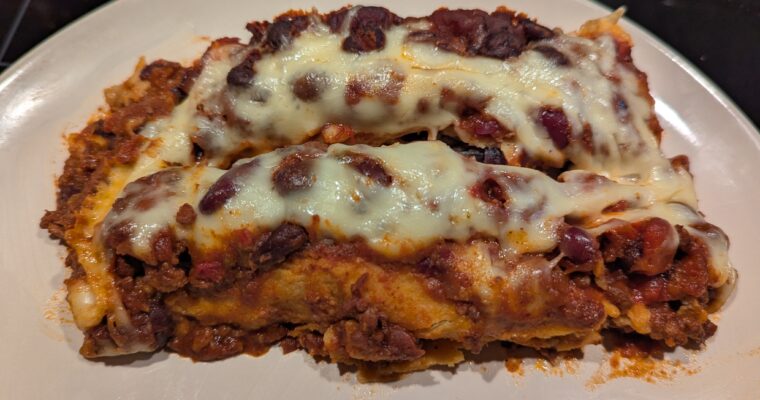
This is another dish that I decided to assemble out of ingredients we had on hand, and it turned out very satisfying! Over the weekend, I cooked a pretty big batch of a fairly saucy basic ground meat and three-bean chili in the Instant Pot. …
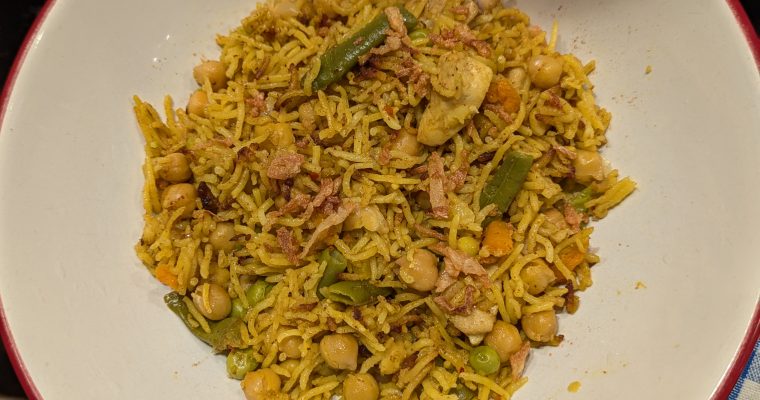
This dish is not even pretending to be Indian. It does make for a good easy fairly balanced one pot meal, in not much time. I’m infamously slow in the kitchen, and really not prone to underestimating the prep and cooking times required for PR …
Not too surprisingly, this seemed like an excellent choice for my inaugural recipe on this new blog. (The previous iteration, from 2010.) I also have plenty of photos of past batches ready to go.
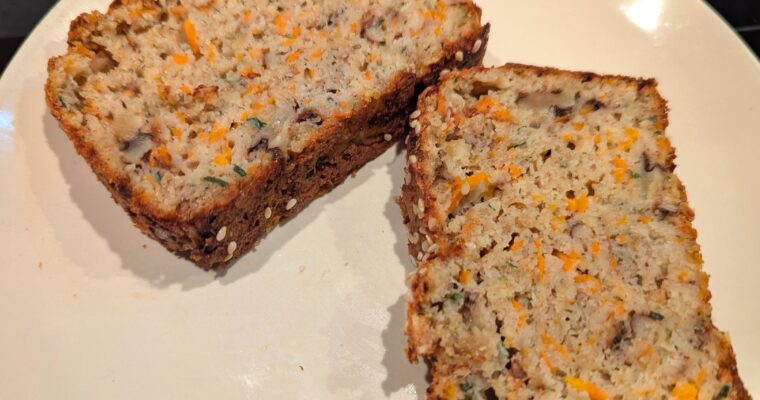
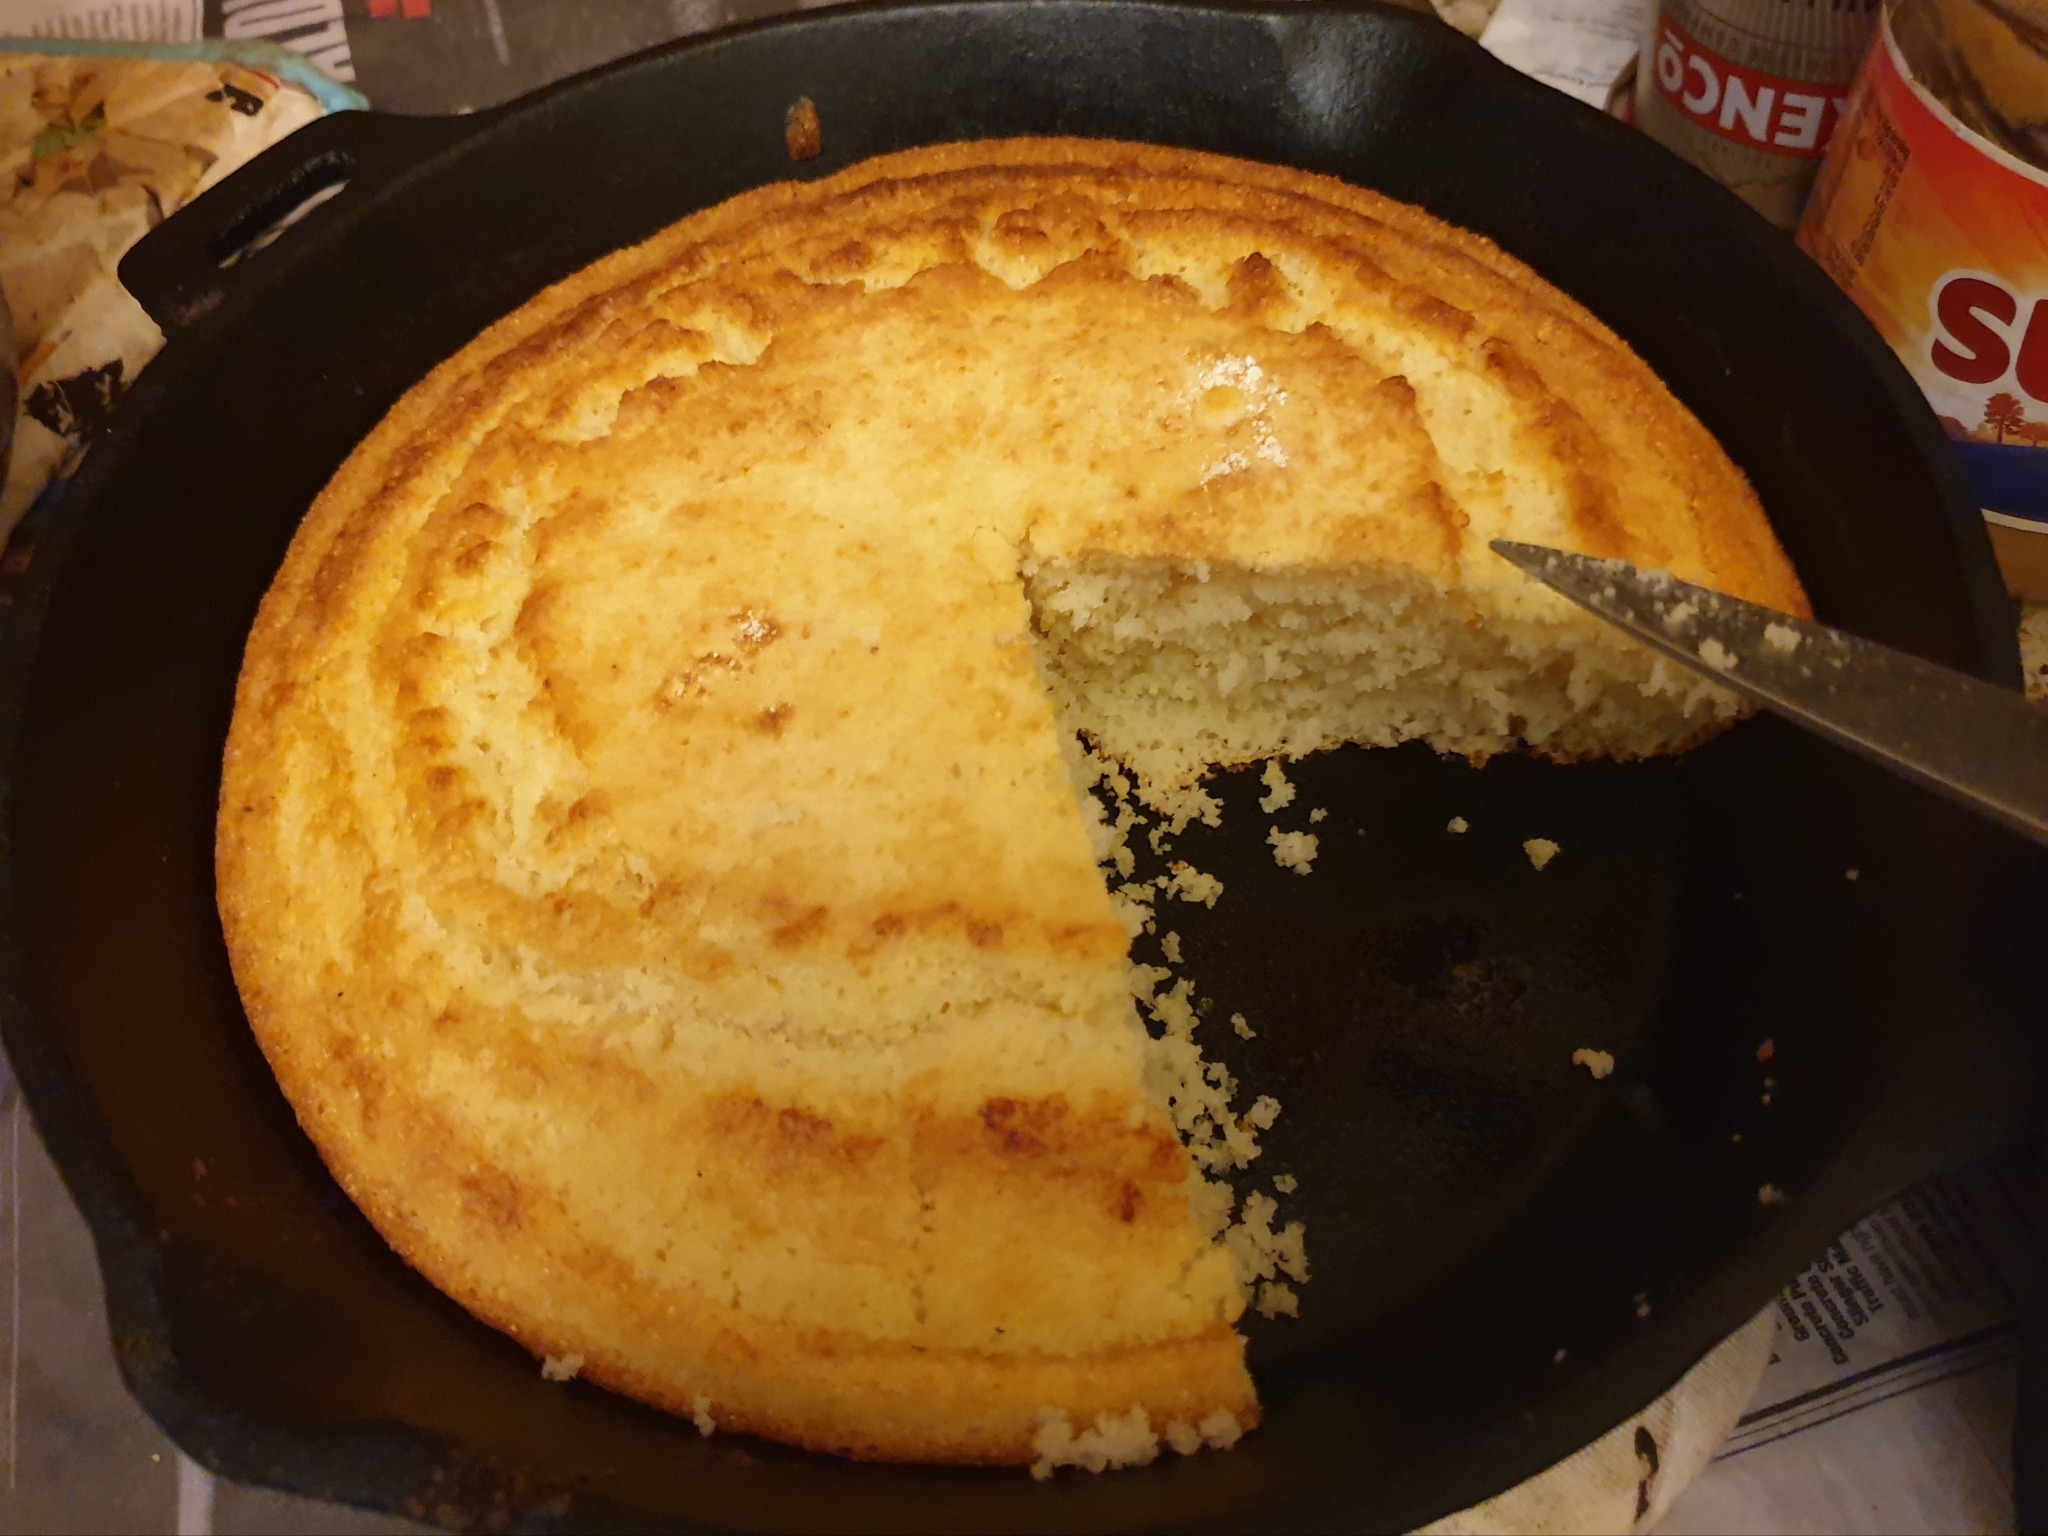
Cornbread constitutes its own food group, and a somewhat contentious one at that. There are many different styles–and everyone seems to think their preference is the best!–but, I still favor the basic baked type I grew up on: fairly neutral verging on savory, dense, and corny. I do give some suggestions in the recipe notes, on tailoring it to better suit your own taste.
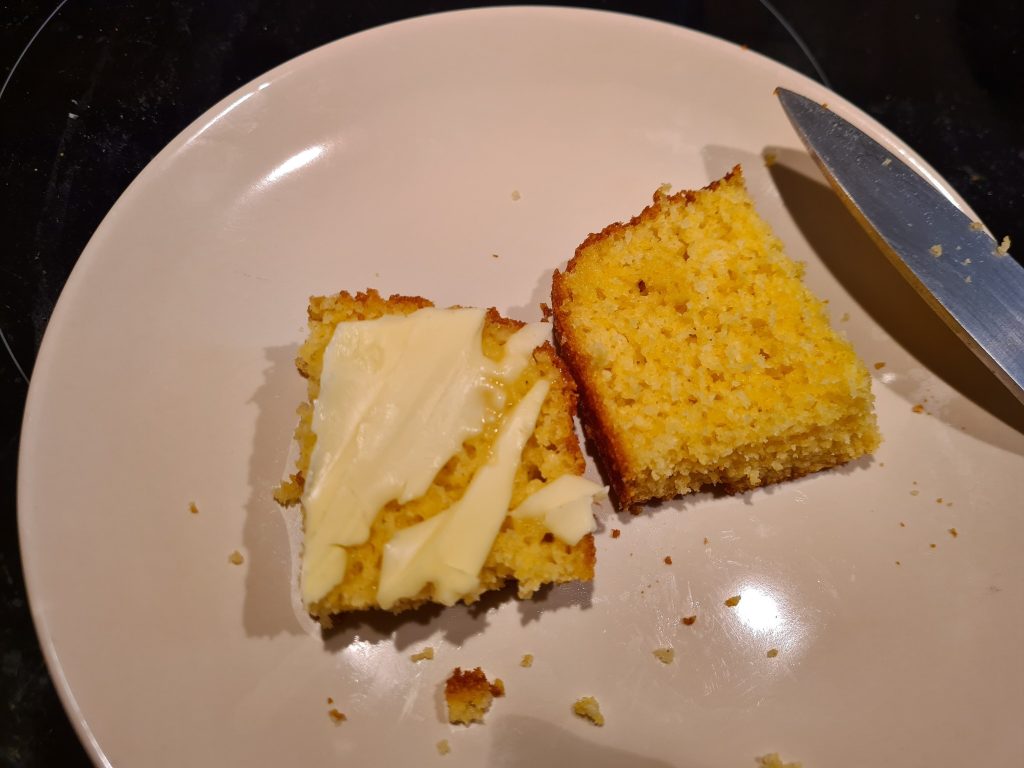
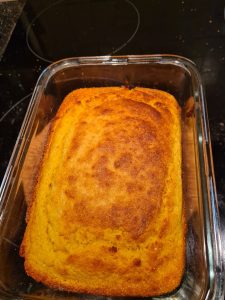
This version is great just buttered, with jelly/jam/honey, or to serve alongside a nice bowl of beans, soups, stews, or chili.
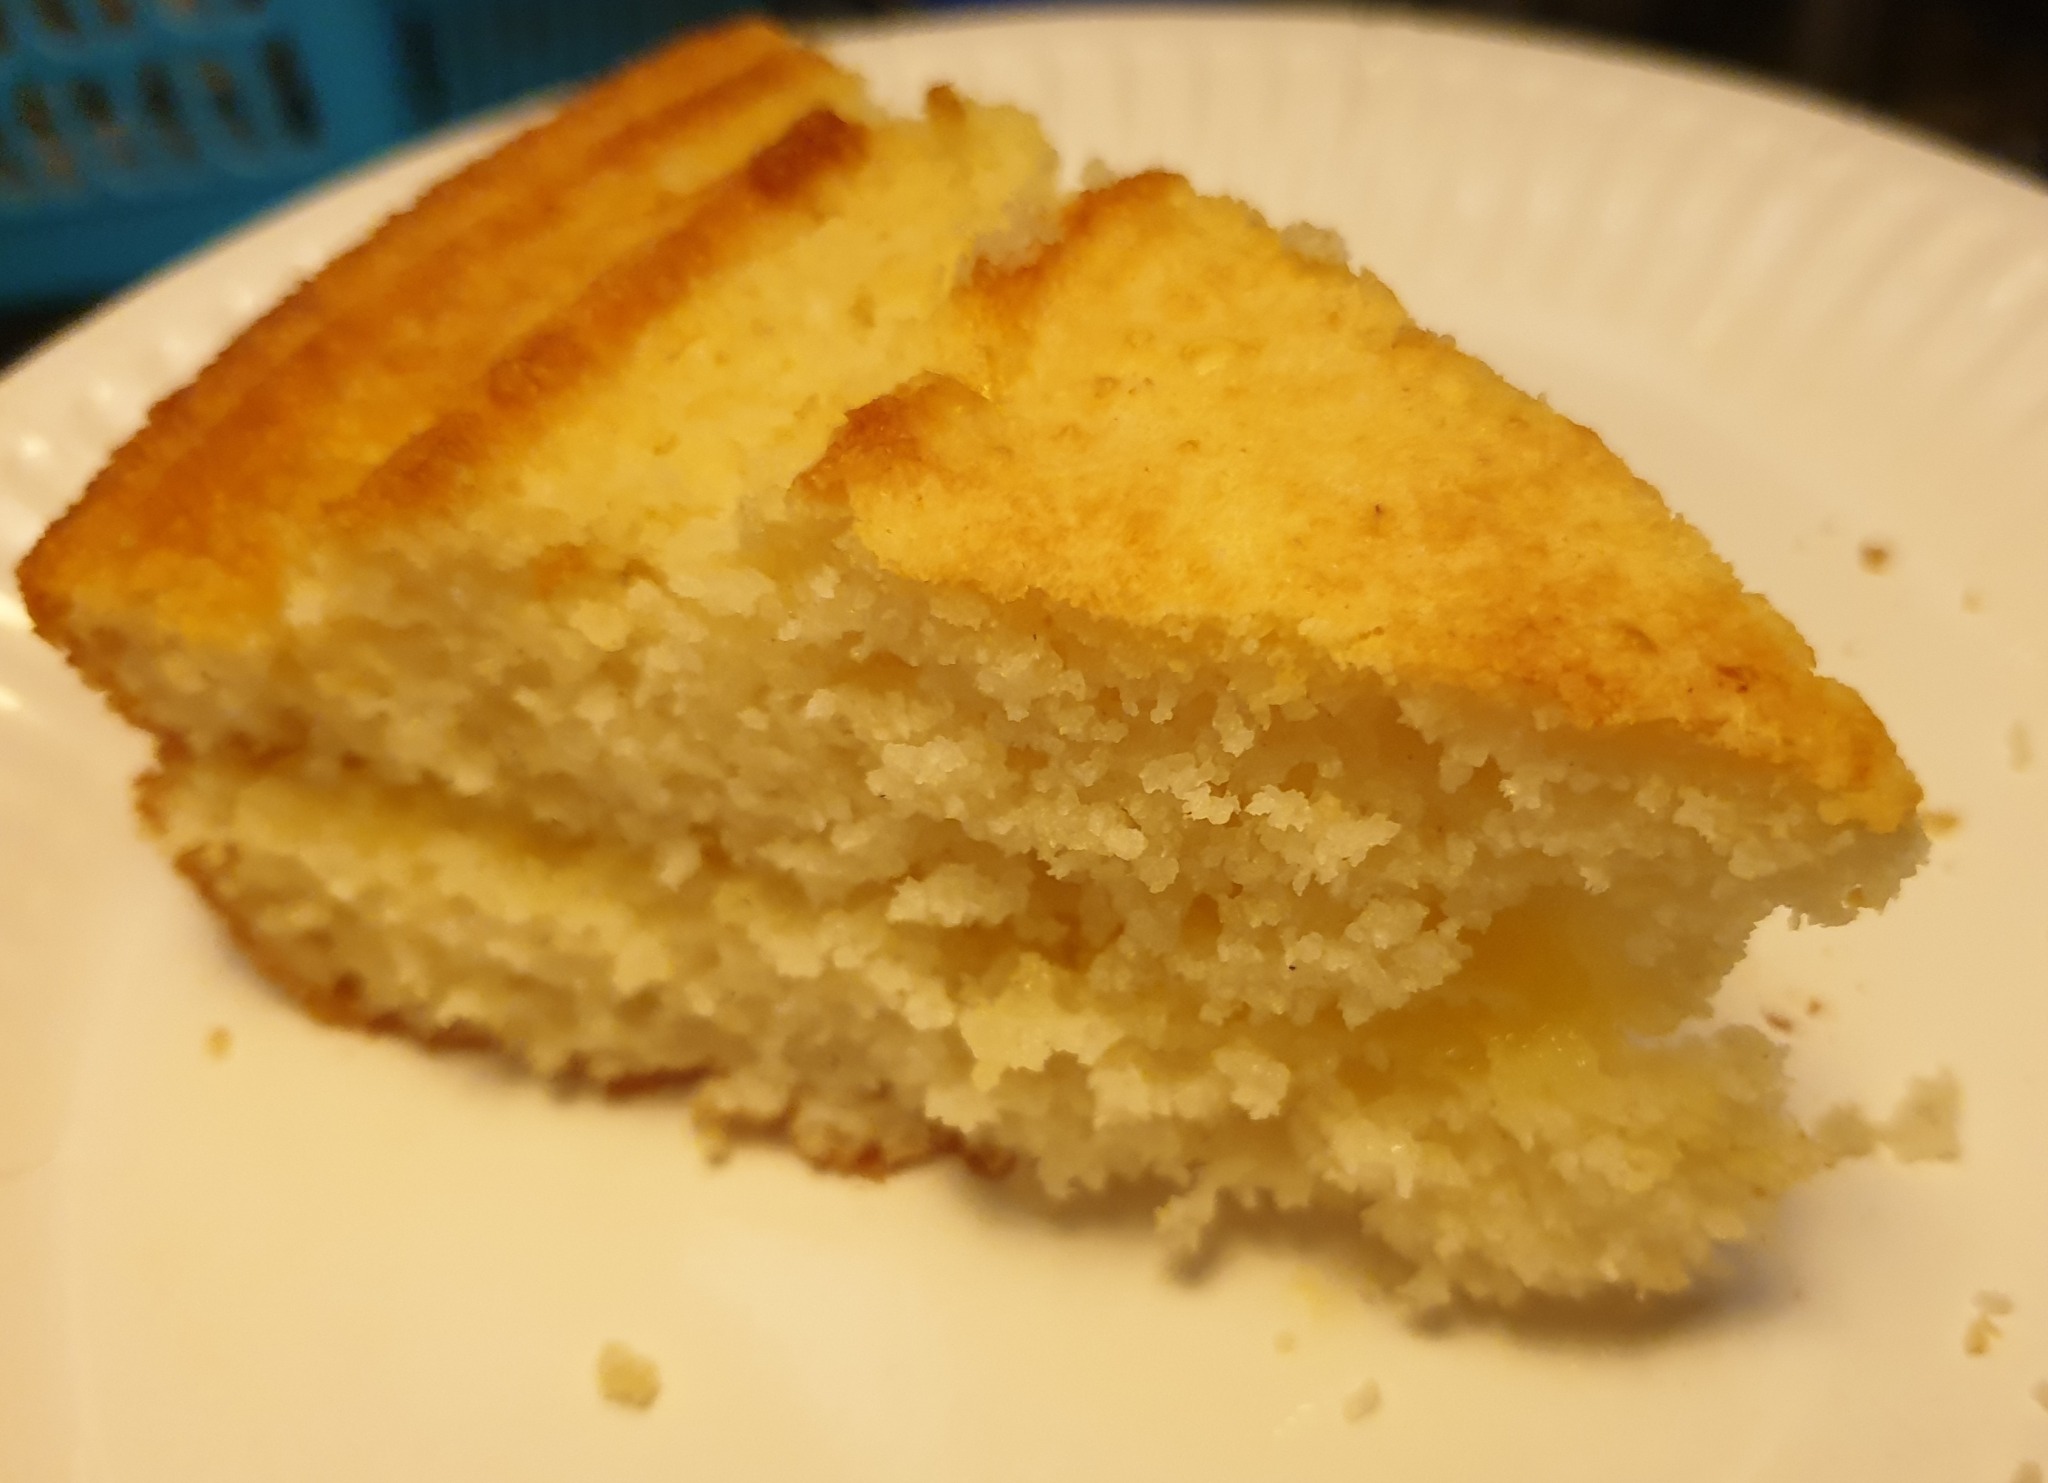
That particular batch turned out a little crumbly, but still delicious. I think I used too much coarse cornmeal.
I don’t eat it nearly as much as I used to, but I probably should because I really do love the stuff. You can bet that wherever I end up or whatever dietary considerations go into it, I will figure out how to make a decent pan of cornbread.
My recipe these days draws some pretty heavy inspiration from this one from Matte Gray (sadly no longer maintained), who was also adapting it to some very different ingredient availability in the Netherlands. You can take a Southerner away from their cornbread, but…
1.75cupsbuttermilk (to make 2 cups combined with the eggs)(500ml total)
4tablespoonbutter or other fat of your choicemelted in the pan (50-60 grams)
Method
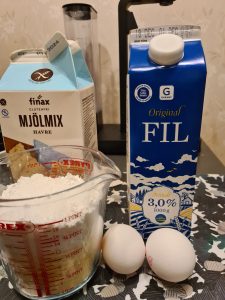
Crack your eggs into a measuring cup, lightly beat, and top up the container to 2 cups (or 500ml) with buttermilk. Let this sit to take some of the chill off, while you prep the rest.
Preheat oven to 400°F/200°C.
Place all dry ingredients into a mixing container, and stir to combine well.
Place your butter and/or other tasty cooking fat like bacon grease into a roughly 8 inch/20 cm medium sized cast iron skillet or an 8"x8" (20cmx20cm) square Pyrex dish. Toward the end of oven preheating, place the pan into the oven to melt the fat. (Alternately, if you're using a skillet, preheat it to melt the butter over medium heat on the stove.)
When the oven is heated, take your bowl of dry ingredients and stir in your egg/buttermilk mixture. I just use an eating tablespoon. You want a fairly smooth batter without big clumps, but without overstirring to knock the leavening bubbles out.
Remove your baking pan with melted fat, which should preferably not be sizzling hot yet. Pour a tablespoon or two of the fat into your batter, and gently stir to incorporate.
Place the baking pan back to finish heating until it is starting to get sizzling hot. If you're using butter, it should start sputtering but not yet browning unless you're into that. Once it is good and hot, stir up the batter and pour it into the hot pan. You want the crust to just start cooking and puffing a little around the edges when it hits the hot grease.
Bake your bread for 25-30 minutes. Better check after 25, but it may take slightly over 30. The whole top should be browned.
Let sit for about 10 minutes after removing from the oven, and dig in!
Notes
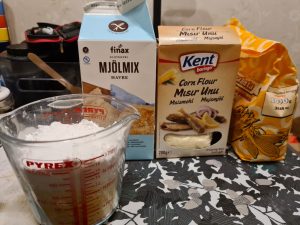
These are rough proportions of dry ingredients, and as you see the unit conversions don’t quite match up. It’s all good.If you prefer a lighter, more cakelike cornbread? Use a higher proportion of flour in the batter. I prefer just enough of a starch-heavy flour blend to help bind the coarser cornmeal together, and still give denser cornier results. We’re aiming for 2 cups or 500ml total of the meal and flour. The exact composition doesn’t matter. I usually just eyeball it myself, filling a measuring cup.If you prefer it sweeter, add more sugar. This is not a sweet style, as written. I didn’t used to include any, but the ingredients I’m using now don’t have as much natural hint of corn sweetness and need a little flavor balancing, to my own taste. Some of my relatives would probably complain if they saw any sugar involved, but it’s your cornbread and your personal taste.These days, I am usually working with a blend of rather coarse polenta and a fine corn flour the texture of masa harina or Indian makki atta, as shown above. In this case, I have found that it works best to use roughly two parts finer corn flour to one part coarse meal. All polenta-ground meal will make it crumbly and gritty, but this gives a pretty good balance. Combining regular meal or polenta with part masa harina will give excellent flavor, but that is much less readily available in supermarkets here.On a similar note, if you don’t have access to regular cultured buttermilk? Any tart cultured milk product will work. Here I have the local version of cultured buttermilk, but kefir or yogurt will also give good results. With yogurt or some of the thicker filmjölk here, you will want to thin it out with maybe 25% milk to a runnier consistency.This recipe is easily halved. Here I used one of the 1L Pyrex storage bowls from IKEA, which is a great size and also carries the benefit that you can just cover any leftovers with the matching lid after it’s cool. This will give you 4 nice pieces. As the main cornbread fan in a small household, this is how I have generally been making it for a while now. The halved recipe in a smaller pan will probably require a little less cooking time. I would suggest checking it after 20 minutes.