Gluten Free Sourdough Beer "Rye" Bread
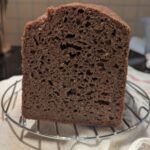
A gluten free approximation of a rye sandwich loaf. This is heavy on the whole grains, and comes out with a pleasant dense chewiness similar to some darker rye breads.
Yield: 1 loaf
Materials
Wet Starting Mix
- 200 g wholegrain sourdough starter half ragi/dark millet, half sorghum - (scant 200ml or ⅔ cup)
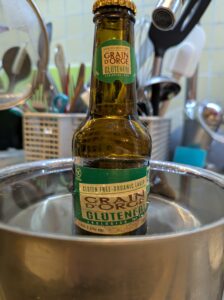
- 250 ml gluten free beer just finger warm (1 cup - this was a light lager)
- 2 tbsp molasses dark treacle, or mörk sirap
- 75 g sauerkraut juice room temperature (75ml or ¼ cup - what I had left in a jar)
- 1 tbsp oil
- 100 ml dry flour mix (½ cup) see below
- 11 g psyllium powder (2½ tsp) - 20-25g if not using the potato fiber
- 1 tsp dry yeast
Dry Flour Mix
- 185 g
Multipurpose Flour Blend (300ml or 1¼ cup) - 40 g potato starch (50ml, or 3 tbsp plus 1 tsp)
- 65 g buckwheat flour (125ml or ½ cup)
- 85 g ragi/dark millet flour (125ml or ½ cup)
- 22 g Pofiber (100ml or ⅓ cup) - see the end of the introduction
- 6 g fine salt (1 tsp table salt)
- 1½-2 tsp caraway or dill seeds
Additional Adjustment
- 100 ml lukewarm water as needed (⅓ cup)
- buckwheat flour as needed to adjust dough consistency
Instructions
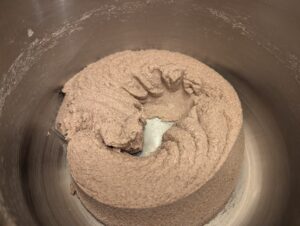
- Combine the dry ingredients listed under "Dry Flour Mix" in a container, and mix well.
- Heat the beer to just where it feels slightly warm to the touch.Probably the easiest method is to set the container into a pan or bowl of warm water for a few minutes. Be smarter than I was, and make sure to open it first! Otherwise, the carbonation might erupt when you do pop it open.Also warm the sauerkraut juice the same way, if you need to.
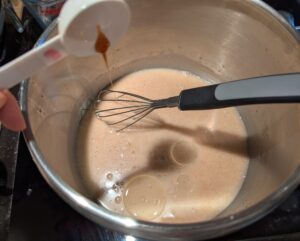
- Combine your starter with the wet ingredients in your stand mixer bowl. If you're not using a sourdough/yeast starter, add an extra 100ml (⅓ cup) of water and use a whole package (around 7g) of dry yeast.Whisk in the psyllium, and around 100ml (⅓-½ cup) of the flour mixture, along with the yeast. If you prefer, omit the additional yeast; I was just going for a quicker rise with some sourdough flavor here.
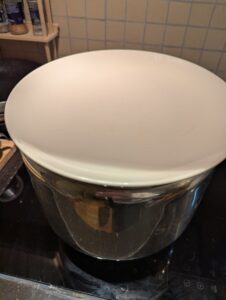
- Cover and let sit for 20 minutes or so, to let the yeast wake up and the psyllium gel up.
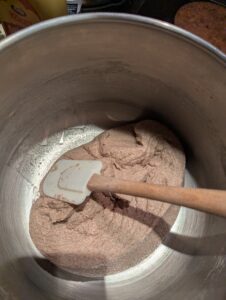
- Move to the stand mixer, and start gradually working the dry mixture into the gloop at a low speed setting.

- Once all the flour is incorporated, turn off the mixer and let the dough sit and rest to slurp up liquid for 10-15 minutes. An especially important step if you are including the potato fiber.
- Once the moisture has equalized some you'll be in a better position to watch the mixer work the dough, and do any consistency fine tuning.Scrape things down with a spatula as needed.
- Let the dough work for a couple of minutes at lower speed, then turn it up more toward medium for 5-10 minutes.
- This is roughly the dough consistency you're aiming for near the end of mixing. Add little bits of lukewarm water and/or flour as needed to get it that way.
- We're looking for something on the wet and sticky side, but not a complete batter. It should come away from the sides of the mixing bowl. With the potato fiber, it actually held a clear imprint of the dough roller--but didn't leave bits stuck onto it as it was removed. I would expect more minor sticking with an all-psyllium dough.
- In fact, I could nudge it loose from the bowl fairly cleanly with a spatula. Still plenty of moisture, but not nearly as gooey as I would normally expect.
- The bowl itself, after turning the dough out.

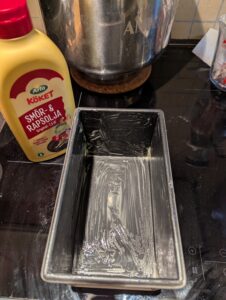
- Grease a pan well. This is one place where I really like to use squeeze margarine. This variety includes around 30% butter oil for flavor.
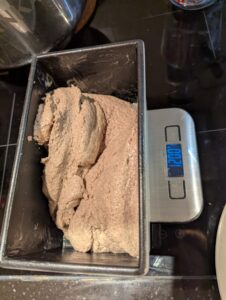
- The dough came out to 1200g total, not including the pan. (1.8L capacity Pullman, as shown earlier.)
Proofing and Baking
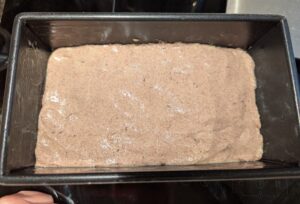
- Smooth out/grease your dough on top, so it's fairly smooth and even. There is no shaping this loaf otherwise. Also oiling your hands to pat it out into the pan is probably going to be your best strategy.
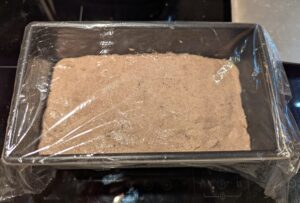
- Cover and let sit in a warm place for about 30 minutes. If your oven has a light, I would suggest setting it in there with the light turned on for a little extra warmth.This is a good time to at least start the mixing bowl and dough attachments soaking.
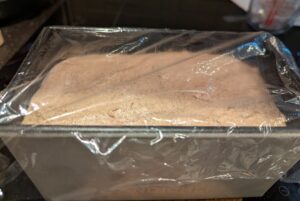
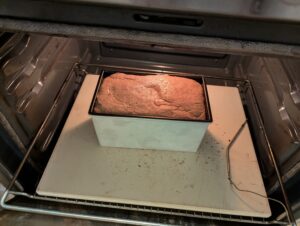
- After 30 minutes, there's some decent rise. Now is a good time to start the oven preheating to 375℉ / 190℃.The dough can finish rising on top of the stove while that happens.
- Preferably, have a baking stone or steel ready near the bottom of the oven. I picked this up for pan breads from The Loopy Whisk, and it really does seem to be very effective for preventing that sad heavy glump of dough at the very bottom of the loaf that even some commercially baked GF breads tend to come with.With the stone or steel, it's best to give the oven at least 45 minutes to preheat everything thoroughly.
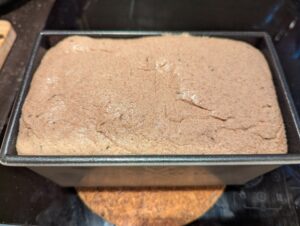
- When the oven is ready and the dough looks roughly doubled, put it in to bake for 40 minutes starting out.
- If you're using a stone or steel, you'll want to set the loaf pan directly on that.
- Evaluate for doneness after the 40 minutes. I carefully thump on the top crust and listen/feel for the "right" hollowness, to go along with fairly even browning on the crust. Wish I could give better advice than that!My loaf took 50-55 minutes to finish. It may vary with yours.
- When the bread is done, let it cool for 15-20 minutes before turning it out of the pan. I also lightly buttered the top crust.Cool on a rack until it's only mildly warm, if that, before cutting in.
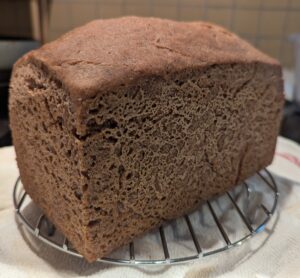
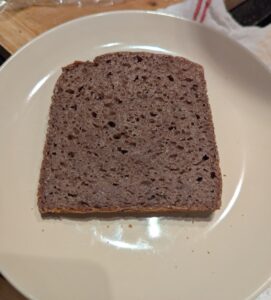
- Enjoy!I couldn't resist grabbing a slice to eat with just some butter, as soon as it had cooled down enough to cut.
Notes
If you don't have potato fiber or prefer not to use it, I would suggest instead using more psyllium. A total of 20-25g of powdered psyllium should be good for a loaf like this. You may also need to add a little extra flour to adjust the consistency.