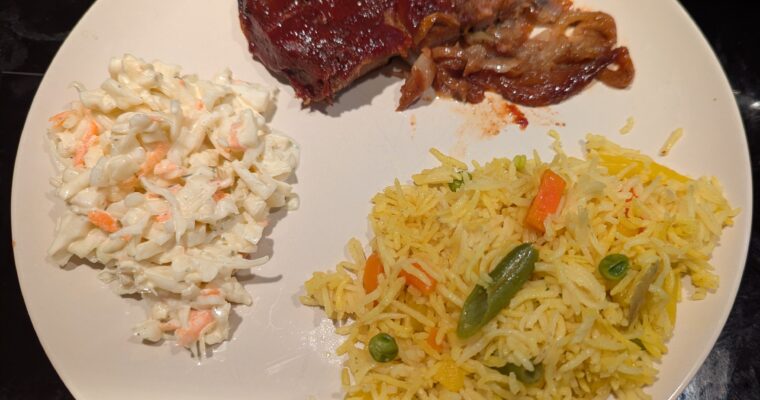
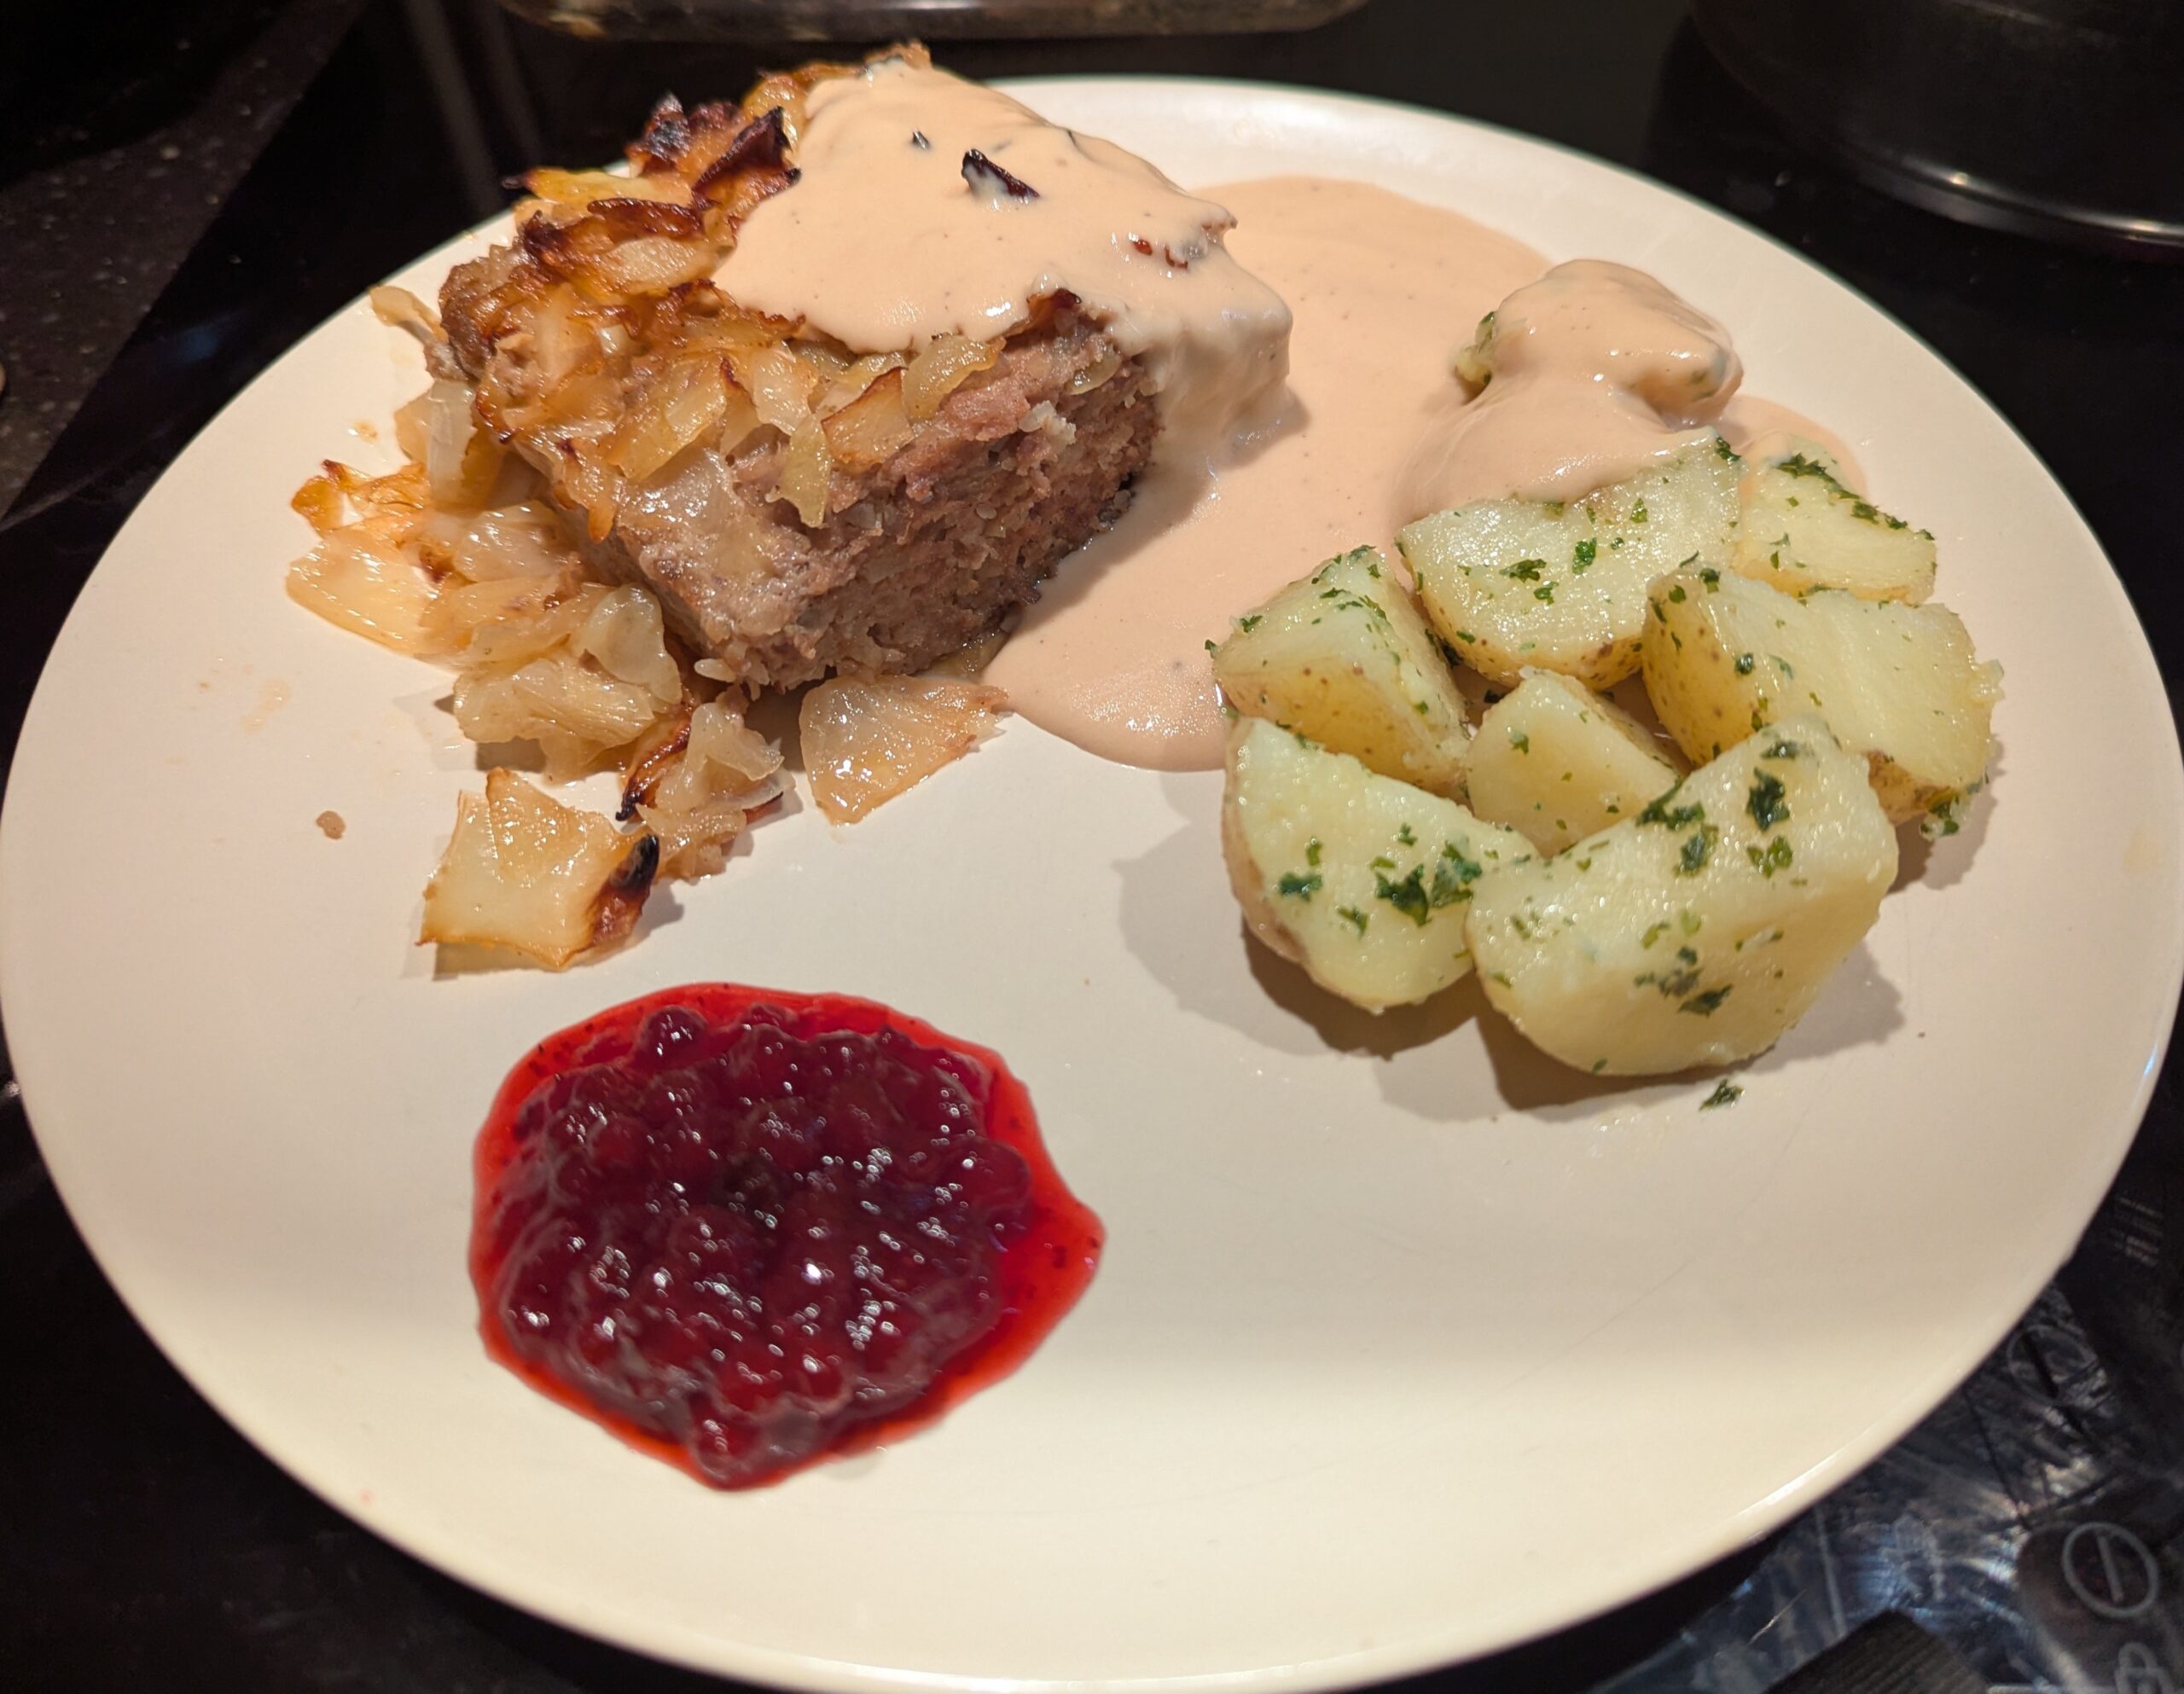
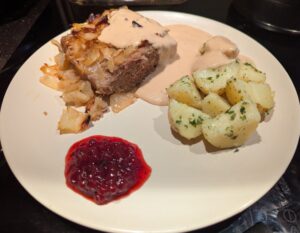
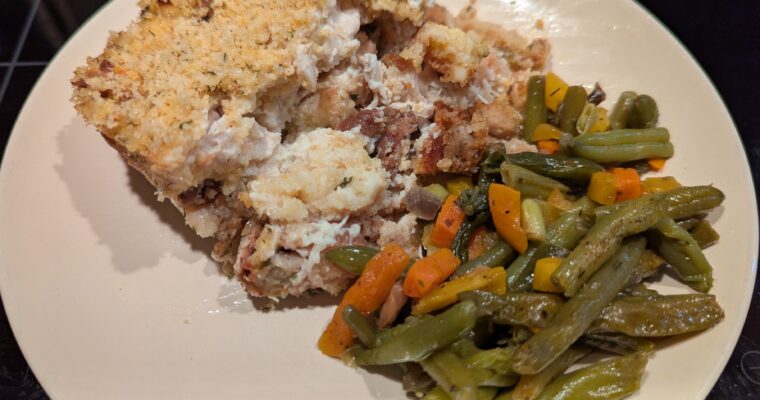
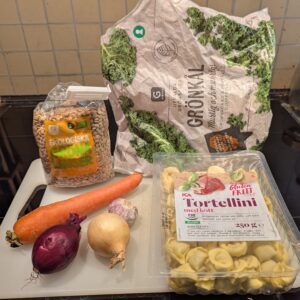
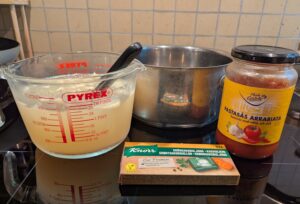
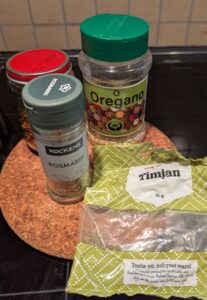
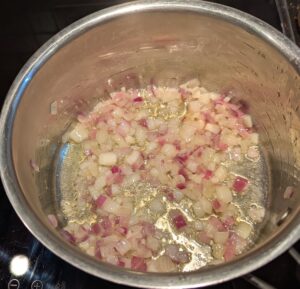
Like a lot of other people from the US, I grew up occasionally eating casseroles like this one, and find them incredibly comforting on a cool day. The versions we got were generally made using canned cream soups for a convenient sauce base. While it …
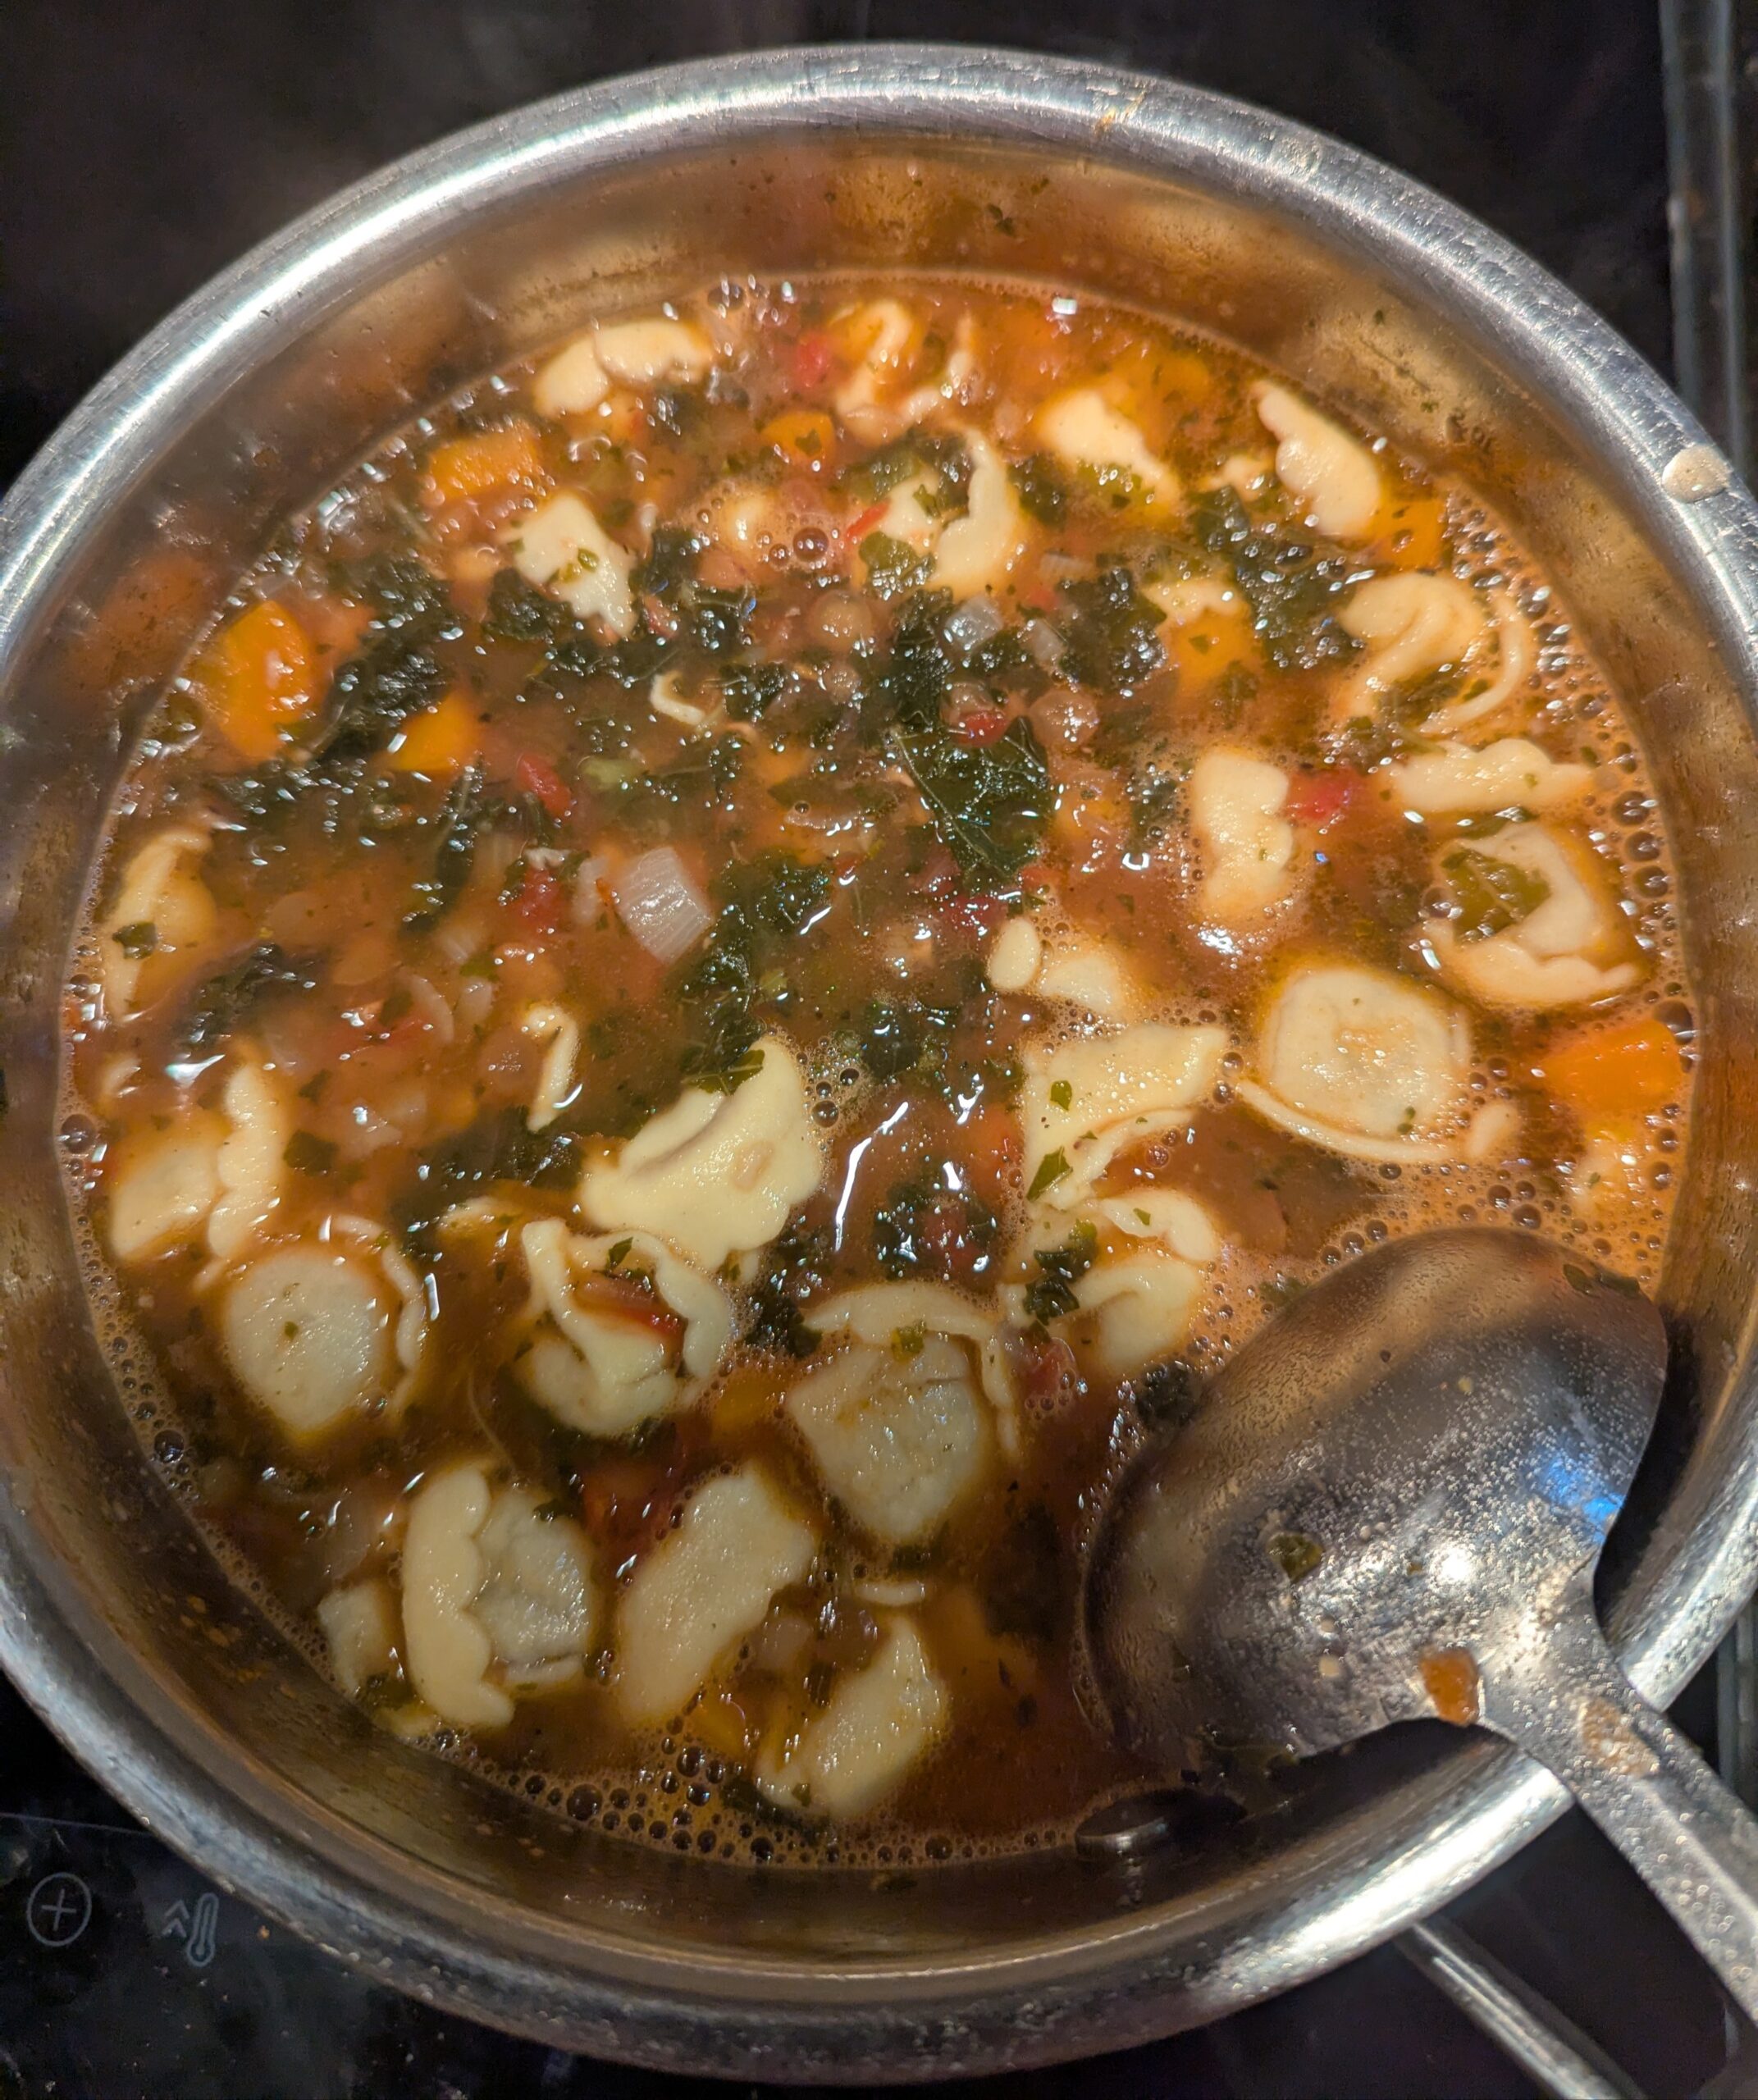
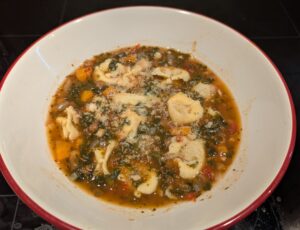
It was a good time for more fall soup today, and we still had some fresh chicken broth to use up. To be fair, I could happily eat soups or stews several days a week when the weather’s not too hot. My family did that …
Swedes are pretty serious about their pea soup. It is almost like their version of a good old pot of pinto beans back home.
You can easily find canned versions, like this “Soldier’s Pea Soup” from Knorr. (Which is pretty good.)
Also refrigerated versions in a chub, like this store brand in meaty and vegetarian takes.
I have absolutely no commercial interest in any of this, btw. I just still find it interesting, and have also gotten pretty hooked on the stuff over the past 20-odd years living with a Swede. Ärtsoppa is a wonderful cool weather comfort food, in a very similar way to my own beloved soupy brown beans.
(Which incidentally have not grown on the Household Swede the same way. He will strain a spoonful out of the juices and push them around on a plate with a fork. Cornbread is a more popular addition around here, however, usually sandwiching plenty of sliced cheese.)
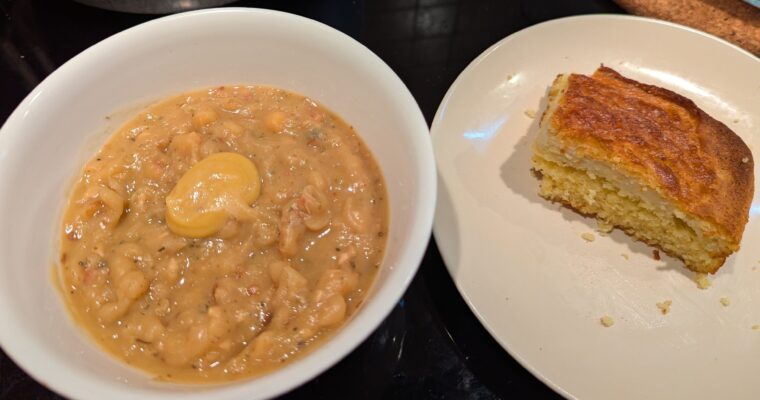
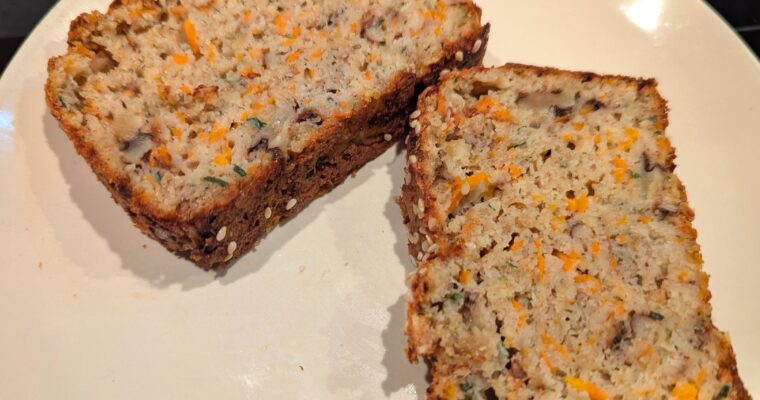
I was actually reminded last night that it had been too long since I did put together a pot of pea soup. I quipped about the Swedabilly nature of that quickbread I’d just made, and he suggested that the ultimate Swedabilly meal he could think of had to be ärtsoppa and cornbread.
This version is probably plenty fusion enough by itself, but it sure was good.
Ham hocks/cured pork knuckle are very classic here. So are larger pieces of cured side meat (rimmat sidfläsk), very much like with beans and longer-cooked vegetables back home. Only here, more people seem to like to chop it up and add the meat back into the soup like with a ham hock. I have also used leftover ham and fatty ham rind before in ärtsoppa.
Somehow, I imagine that the most traditional Swedish version is also likely to be “Gee, I sure do hope we’ll have some type of cured meat to help give the peas some extra flavor.” Maybe especially in the days before storebought flavor enhancers like bouillon cubes were a thing.
Today we’re getting half a (small) local standard sized pack of thin sliced bacon, which was actually left from the last pinto beans I cooked recently. That’s why it’s cut like it was below. Easier to work with, and you don’t need nice full slices if you’re going to break it up and use in another dish anyway.
This is more for a little extra flavor than any real meatiness. It would be equally tasty made vegetarian, maybe with a little more onion.
My own take on a classic Swedish yellow pea soup, made in the Instant Pot.
Prep Time30 minutesmins
Active Time45 minutesmins
Soaking Time10 hourshrs
Course: Main Course, Soup
Cuisine: Scandinavian, Swedish
Keyword: Instant Pot, Pressure Cooking
Yield: 4people
Materials
Advance Soaking
500gdried whole yellow peas(600ml/2½ cups/one British pint, or just use a pound)
0.5teaspoonbaking sodasodium bicarbonate, for soaking
2literswater
For Initial Cooking
4-6slicesbacon, crumbled
2medium onionschopped, or one large
2-3clovesgarlicchopped
1-2tablespoonsneutral oil of choicedepending on how much bacon grease it made
peassoaked and rinsed
200mlhot water(¾ cup) for rinsing out the bacon and onion pan
1literwater(just over a quart) for the main soup cooking
2Knorr vegetable bouillon cubes(or enough bouillon of your choice to make 1 liter or quart)
1large bay leafor 2 small
6 allspice berries
0.5teaspooncoarsely ground pepperwhite is probably more traditional here, but I used black
Final Seasoning
0.75teaspoondried savoryor ½ tsp. thyme
0.5teaspoondried marjoram
salt and pepperto taste
To Serve, Per Bowl
optional mustard, to tastePreferably Swedish sweet hot mustard, but German or Polish mustards with a little sweetness work great. A teaspoon or so stirred through your bowl is a good place to start.
Instructions
Pea Preparation
The night before, or at least 8-10 hours in advance, get out your peas.If you can only find split peas where you are, this method won't work for them. You'll be better off following another recipe's cooking instructions like these from Savor The Best, and laying off the pressure cooking.
The quality control on the Swedish-grown peas like these tends to be very good. But, like with any other dry bean? You will still want to look over them carefully by the handful to remove any broken or unsavory-looking individuals as you transfer them over into a large pan or bowl.Once they're sorted into the soaking container, cover them over well with cool water, and swirl them around in the container with your hand to rinse off any surface dirt. Wash them several times like this until the water stays clear, and drain the pan.
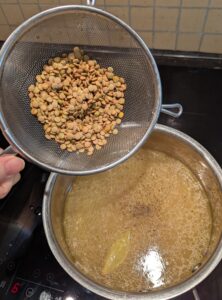
Cover the peas with a good few inches of fresh water for soaking, and add the baking soda. This was probably slight overkill on both the pot size and level of water,
Cover the container, and set aside for 8-12 hours until you're ready to cook the soup. Soaking at room temperature is much quicker. Unless it's, say, the worst of the summer in a hot area with no air conditioning? The worst soaking beans or peas might do left at room temperature is to start the sprouting process, which some people like to do on purpose with longer soaks. It is extremely unlikely to happen within 8-12 hours at normal room temperatures.(If it is beastly hot weather with no AC, like I grew up with? Transfer into the fridge after 3-4 hours, and let them finish their soaking time there. We did have the occasional mess of beans start fermenting in an undesirable way before my mother started doing that during particularly hot spells, back in Virginia.)if you want to soak overnight but need to be somewhere in the morning? Drain the soaking water then, and place in the refrigerator until it's time to cook.
Drain the soaking water off the peas when you're ready to cook them, and rinse with fresh water.Mr. Sweden insists that they must be soaked and cooked in the same water, for maximal flavor. (He also grew up in a much softer water area, and doesn't include the soda for soaking.) My own position is that not changing the water would mainly maximize the gas factor, and he has never noticed the difference.Most Swedish recipes I have seen do call for a water change.
Assembling The Soup
Cover the now soaked, rinsed peas with another liter of fresh water in the inner pot for your Instant Pot. This will be your main cooking liquid. Set aside.
Assemble your main ingredients, and chop the onion and garlic.
Get your longer-cooking seasonings ready for the soup.
Fry the bacon until it's brown and starting to crisp up. Unless you're using remarkably more bacon than I am, we're going to want all the grease and browned bits for flavor.
What we're left with: some cooling crispy bacon with most of the fat rendered out, and some browned bacony goodness plus maybe a tablespoon and a half of flavorful grease.
Now, you'll want to turn the heat up to the higher side of medium, and throw your chopped onion in there to fry a little and help deglaze the pan. Add the extra neutral oil to help things along, with no more fat than will come out of this amount of bacon.
Crumble the bacon while the onions cook.
We're not really looking to soften the onion up; that should happen in the soup. We're just wanting to capture the rest of the bacon flavor, and get a little browning around the edges for more yum.When the onion is starting to brown a little, add the chopped garlic and stir it around for a minute or so until you're really starting to smell the garlic too. You really don't want that to burn. Remove from the heat.
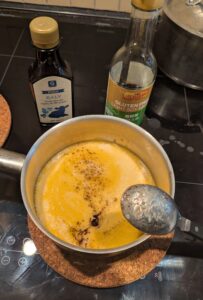
Time for other ingredients to join the peas!You can crumble the bouillon cubes, but these are both hard and sticky to the touch enough that I prefer to chop them with a knife instead. They will dissolve much better through your soup if you do break them up in some way, though.These Knorr cubes are going to be doing some pretty heavy flavor lifting here.
Add all the starting ingredients into the pot with the peas.Rinse the onion skillet out with the little additional hot water, and pour that into the soup pot too. We want all that flavor, and it will also help make cleanup easier later.Stir everything to combine.
Pressure Cooking
If you prefer to cook this entirely on the stovetop or in a slow cooker, please scroll down to the notes section. I will add instructions there.
Place the inner pot with soup fixings into the Instant Pot base. Seal the lid and set the program to "Manual – High" for 15 minutes.If you're using a stovetop pressure cooker model operating at 15psi, I would cut the time under pressure back to probably 10 minutes and check from there.
IMPORTANT: Let the pressure come down on its own ("natural release") for 15-20 minutes before touching the valve to open the lid. Even whole peas with skins are rather prone to foaming up.
If you open it up and see something like this, don't be alarmed. It's fine.A lot of pea skins will come off and float to the top as it cooks. You can either stir it all back down into the soup to get all the fiber and more texture, or carefully skim that layer off with your spoon.
What it looks like after stirring everything back together. Much better!However, as you could probably see? In this case, a few undercooked peas were also pushed up out of the liquid by the floating skins. From past experience, I suspected this might happen.You could just skim those off too, but I decided to stir it all back in and pressure cook for another 10 minutes on the same "Manual – High". (With another resting period to depressurize after.) I wasn't in a hurry, and we are aiming for soft, soupy results anyway.
Finishing The Soup
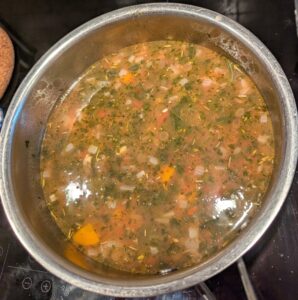
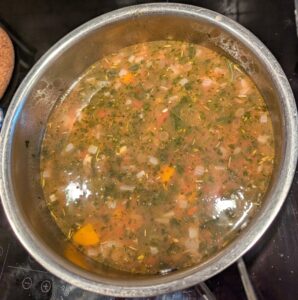
Once everything is pressure cooked to your satisfaction, set the unit to "Brown/Saute – Low" and let it simmer uncovered for a little while with the occasional stir. If you want it thicker, simmer it longer. Add a little more water to thin, if you think it needs it. Classically, we're looking for a thick soup, but make it whatever consistency you prefer.At this stage, if you're using a stainless steel inner pot rather than the nonstick like mine? Be extra careful about stirring, or it will want to stick and burn as it simmers down.The liquid ratios called for here turned out just about perfect to Mr. Sweden's taste, after just a short simmer with the herbs and a covered rest off the heat while I baked the cornbread. He likes his soup thicc. I needed to thin my bowl out with a little hot water from the kettle, and it was still pretty thick.
Stir in the herbs, and simmer for a final 10 minutes or so. Adjust seasonings with more salt and pepper as required.
Enjoy! In this case, with fresh buttered cornbread.Add a dollop of mustard if you like.
Notes
For Stovetop: Use a suitable heavy-bottomed soup pot, and proceed the same up to the point of the main cooking. Add at least 750ml / 3 cups of extra water. Bring to a boil on the stove, and simmer covered while stirring occasionally for probably an hour and a half until it’s done. Add more water as required. Do the herb addition and final seasoning adjustment as above.For Slow Cooker: Proceed the same up to the point of the main cooking. Put everything in your crock. Cook on “High” for 4 hours or “Low” for 7-8. You’ll probably want to stir at least once around halfway through, to avoid the floating skins issue. Do the herb addition and final seasoning adjustment 30 minutes or so before you want to eat it.
We currently have most of a huge bag of nice fresh carrots that Mr. C picked up from the newish Costco here in town, so I’ve been trying to think of some yummy things to do with the root vegetable windfall. Expect to see more …
Fall is well and truly rolling in, so it was soup night Chez Swedabilly Chaos. (It used to just be Chez Chaos, as dubbed by Mr. Sweden. But, here now in Skåne things are indeed looking easily 90% more Swedabilly.) In the previous post–and earlier …
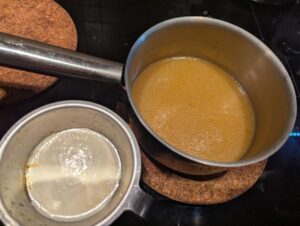
It’s hard to get more comforting and versatile than a nice pot of chicken broth.
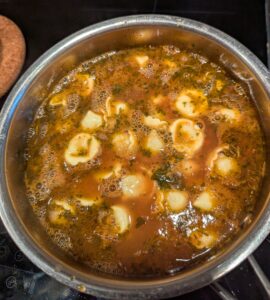
Today I was really starting to feel the fall settling in here, and I really wanted some soup. We also had the remnants of half a roast chicken in the fridge, plus some frozen leg quarters. Cooking for two, these days I generally will cut a fresh whole chicken in half and freeze one side of it to cook later. So, a plan came together–starting with some fresh broth!
We have independently come to very similar stock-making approaches over the years, especially to save for later to use in a variety of different dishes.
This particular batch is small and I did plan to use part of it immediately in a specific dish, but I’m still sticking with the same basic plan here: we’re going for rich chicken flavor, lightly salted, without a lot of other taste notes added in. Any aromatics we want can go into each dish as we’re cooking it. Keep things as simple and versatile as possible.
Place the chicken pieces into at least a 3L pot. Cover with 2L water and add salt.
Here, I just used a couple of leg quarters straight from the freezer, but feel free to use the equivalent in other bone-in chicken parts, or half a chicken. (This is a small batch, but it scales up readily.) At least some dark meat pieces will give you better broth.The existing carcass is also optional, but any extra bones and connective tissue you have will also help make your broth richer.
Bring to a boil, and skim the foam from the surface with a spoon.
Turn down the heat, and simmer covered for an hour. I like to gently stir and flip pieces like this over about halfway through cooking, to make sure it cooks as evenly as possible. This may not be necessary, depending on what you're using.
Once it has simmered for an hour, carefully pull out the chicken with a slotted utensil. Reserve to the side in a dish, to cool enough to handle.
While your pieces cool, take the reserved carcass and add it to the pot. Cover and continue to simmer.
Once the chicken is cool enough not to burn yourself trying to dismantle it, carefully drain any liquid which has collected in the pan back into the pot. Pull the meat off the bones, and set it to one side. I like to hold onto it with one hand, and pull at the meat with a fork.Slide the skin, bones, and any gristle back into the simmering pot.
Cover and continue to simmer all of the chicken bones and scraps for another hour.
Optional: Add the reserved jellied gold of your reserved roast chicken drippings into the broth pot if you have any, and let simmer another 15 minutes. We will deal with the chicken fat later.
Pour the finished broth through a mesh strainer, into another pot of at least 2L cooking capacity.Let the carcass drain any remaining liquid for a few minutes, before discarding. In this case, the liquid level came up high enough that I needed to let it drip into the original cooking pot and pour the proceeds back over from there.
Finished broth! This gave me around 1.5L in the end, but I did not measure the water going in precisely. I just eyeballed "a couple of liters/quarts". You may get more or less from a starting 2L after the cooking evaporation, etc. It's all good.

Use immediately, or reserve for later. We'll cover that next.
Saving For Later
If you want more concentrated broth to freeze, let it boil down over medium heat until you have around a liter left. We will also deal with the excess fat after this.(I did not reduce it in this case, because it was already concentrated enough for me–and I chose just to reserve a liter for later use as-is.)
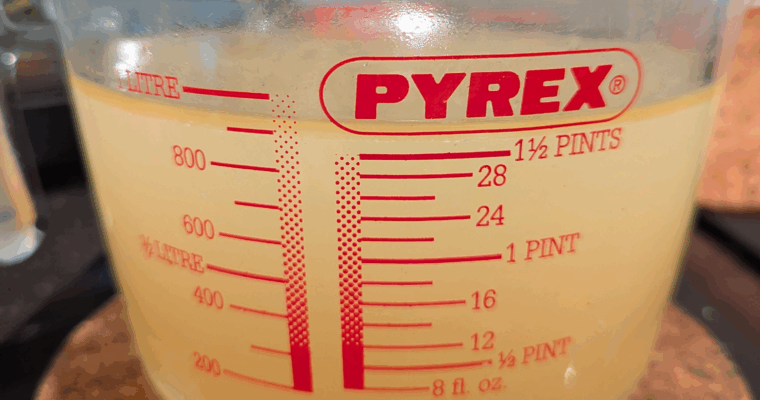
To do this fairly easily, pour the broth you want to save into a container like a Pyrex measuring cup.Let cool enough, and refrigerate at least overnight covered.
Your broth should have gelled, and the fat separated out into a solid layer on top. (I haven't gotten that far yet, writing this up.)You can carefully scrape off the chicken fat into a small jar, and save in the refrigerator to use for cooking later if you like. Try not to get broth in there. I don't mind if a little fat stays with the broth.
Reheat the broth until it becomes liquid again. A couple of minutes in the microwave is perfect for this.Freeze in containers or Ziploc bags of the size you prefer. You may want to label them to remind yourself that it should be used 1:1 with water, if you did go for the condensed broth approach. I will usually go in increments of around 1 cup/250ml.
For more flexibility when you go to use your broth, Chinese Cooking Demystified demonstrated in one excellent recent video how to freeze it in convenient ice cube bags. You can of course also just use an ice tray.
This is another dish that I decided to assemble out of ingredients we had on hand, and it turned out very satisfying! Over the weekend, I cooked a pretty big batch of a fairly saucy basic ground meat and three-bean chili in the Instant Pot. …
This dish is not even pretending to be Indian. It does make for a good easy fairly balanced one pot meal, in not much time. I’m infamously slow in the kitchen, and really not prone to underestimating the prep and cooking times required for PR …
Not too surprisingly, this seemed like an excellent choice for my inaugural recipe on this new blog. (The previous iteration, from 2010.) I also have plenty of photos of past batches ready to go.
Cornbread constitutes its own food group, and a somewhat contentious one at that. There are many different styles–and everyone seems to think their preference is the best!–but, I still favor the basic baked type I grew up on: fairly neutral verging on savory, dense, and corny. I do give some suggestions in the recipe notes, on tailoring it to better suit your own taste.
This version is great just buttered, with jelly/jam/honey, or to serve alongside a nice bowl of beans, soups, stews, or chili.
That particular batch turned out a little crumbly, but still delicious. I think I used too much coarse cornmeal.
I don’t eat it nearly as much as I used to, but I probably should because I really do love the stuff. You can bet that wherever I end up or whatever dietary considerations go into it, I will figure out how to make a decent pan of cornbread.
My recipe these days draws some pretty heavy inspiration from this one from Matte Gray (sadly no longer maintained), who was also adapting it to some very different ingredient availability in the Netherlands. You can take a Southerner away from their cornbread, but…
1.75cupsbuttermilk (to make 2 cups combined with the eggs)(500ml total)
4tablespoonbutter or other fat of your choicemelted in the pan (50-60 grams)
Method
Crack your eggs into a measuring cup, lightly beat, and top up the container to 2 cups (or 500ml) with buttermilk. Let this sit to take some of the chill off, while you prep the rest.
Preheat oven to 400°F/200°C.
Place all dry ingredients into a mixing container, and stir to combine well.
Place your butter and/or other tasty cooking fat like bacon grease into a roughly 8 inch/20 cm medium sized cast iron skillet or an 8"x8" (20cmx20cm) square Pyrex dish. Toward the end of oven preheating, place the pan into the oven to melt the fat. (Alternately, if you're using a skillet, preheat it to melt the butter over medium heat on the stove.)
When the oven is heated, take your bowl of dry ingredients and stir in your egg/buttermilk mixture. I just use an eating tablespoon. You want a fairly smooth batter without big clumps, but without overstirring to knock the leavening bubbles out.
Remove your baking pan with melted fat, which should preferably not be sizzling hot yet. Pour a tablespoon or two of the fat into your batter, and gently stir to incorporate.
Place the baking pan back to finish heating until it is starting to get sizzling hot. If you're using butter, it should start sputtering but not yet browning unless you're into that. Once it is good and hot, stir up the batter and pour it into the hot pan. You want the crust to just start cooking and puffing a little around the edges when it hits the hot grease.
Bake your bread for 25-30 minutes. Better check after 25, but it may take slightly over 30. The whole top should be browned.
Let sit for about 10 minutes after removing from the oven, and dig in!
Notes
These are rough proportions of dry ingredients, and as you see the unit conversions don’t quite match up. It’s all good.If you prefer a lighter, more cakelike cornbread? Use a higher proportion of flour in the batter. I prefer just enough of a starch-heavy flour blend to help bind the coarser cornmeal together, and still give denser cornier results. We’re aiming for 2 cups or 500ml total of the meal and flour. The exact composition doesn’t matter. I usually just eyeball it myself, filling a measuring cup.If you prefer it sweeter, add more sugar. This is not a sweet style, as written. I didn’t used to include any, but the ingredients I’m using now don’t have as much natural hint of corn sweetness and need a little flavor balancing, to my own taste. Some of my relatives would probably complain if they saw any sugar involved, but it’s your cornbread and your personal taste.These days, I am usually working with a blend of rather coarse polenta and a fine corn flour the texture of masa harina or Indian makki atta, as shown above. In this case, I have found that it works best to use roughly two parts finer corn flour to one part coarse meal. All polenta-ground meal will make it crumbly and gritty, but this gives a pretty good balance. Combining regular meal or polenta with part masa harina will give excellent flavor, but that is much less readily available in supermarkets here.On a similar note, if you don’t have access to regular cultured buttermilk? Any tart cultured milk product will work. Here I have the local version of cultured buttermilk, but kefir or yogurt will also give good results. With yogurt or some of the thicker filmjölk here, you will want to thin it out with maybe 25% milk to a runnier consistency.This recipe is easily halved. Here I used one of the 1L Pyrex storage bowls from IKEA, which is a great size and also carries the benefit that you can just cover any leftovers with the matching lid after it’s cool. This will give you 4 nice pieces. As the main cornbread fan in a small household, this is how I have generally been making it for a while now. The halved recipe in a smaller pan will probably require a little less cooking time. I would suggest checking it after 20 minutes.